So for the past six years since I started Instagram, the way I style my images has changed a huge amount. When I first started I used random ass filters for every picture because I thought it looked cool, which looking back on now, it really didn’t. I then fell in love with the filter ‘Valencia’ on Instagram. It was a very warm tone and I used it on every single photo. Back in those days I used to take it whenever, stick the filter on it and bam upload. Things are a lot different now.
APPS.
I have a few favourite apps that I swear by for editing.
-Instagram
-Afterlight
-Snapseed
-Facetune 2 (the free version)
-VSCO
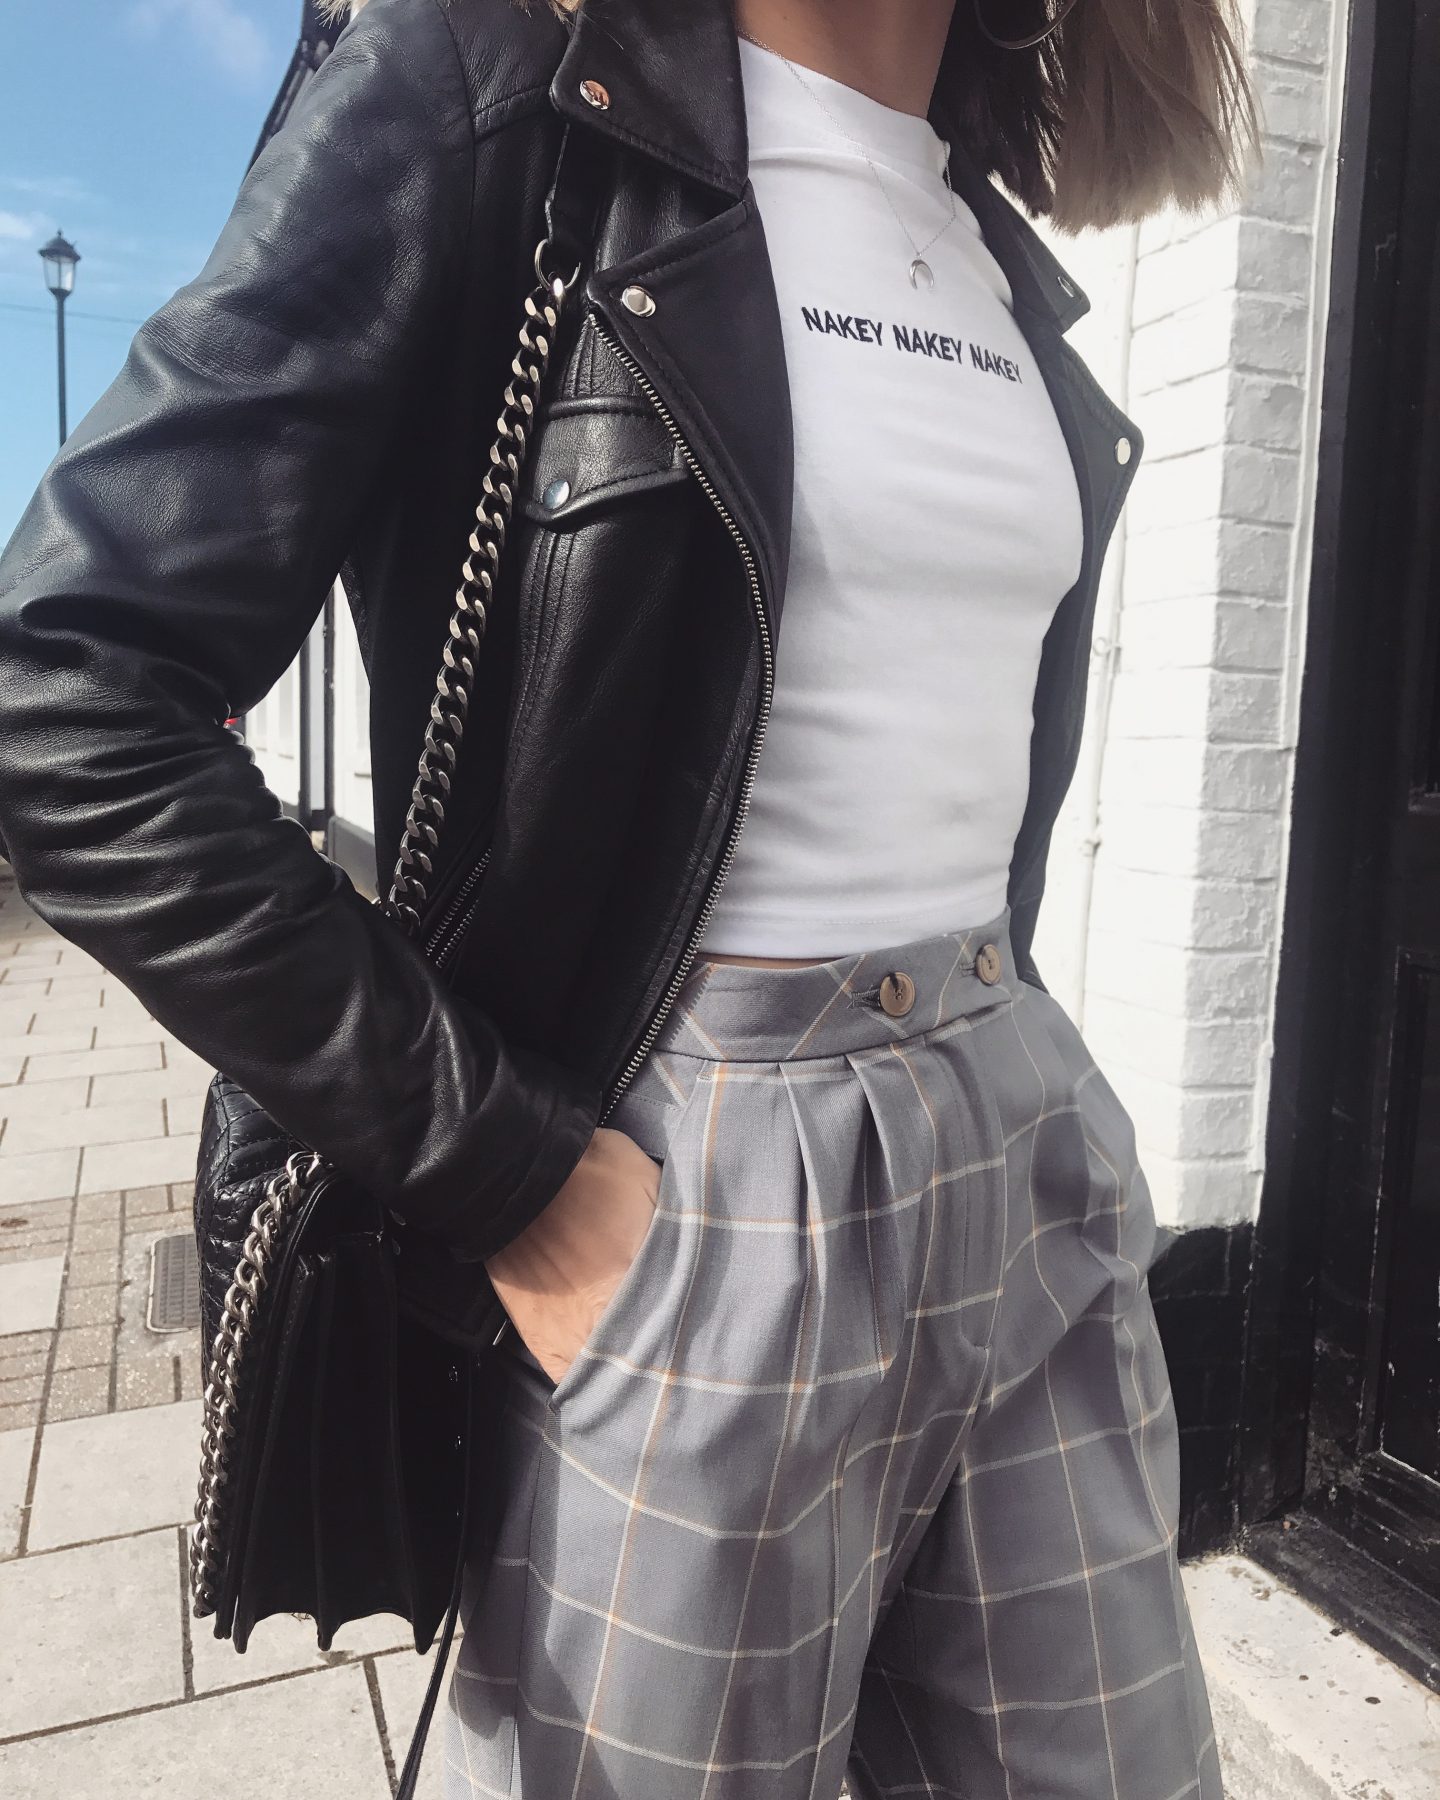
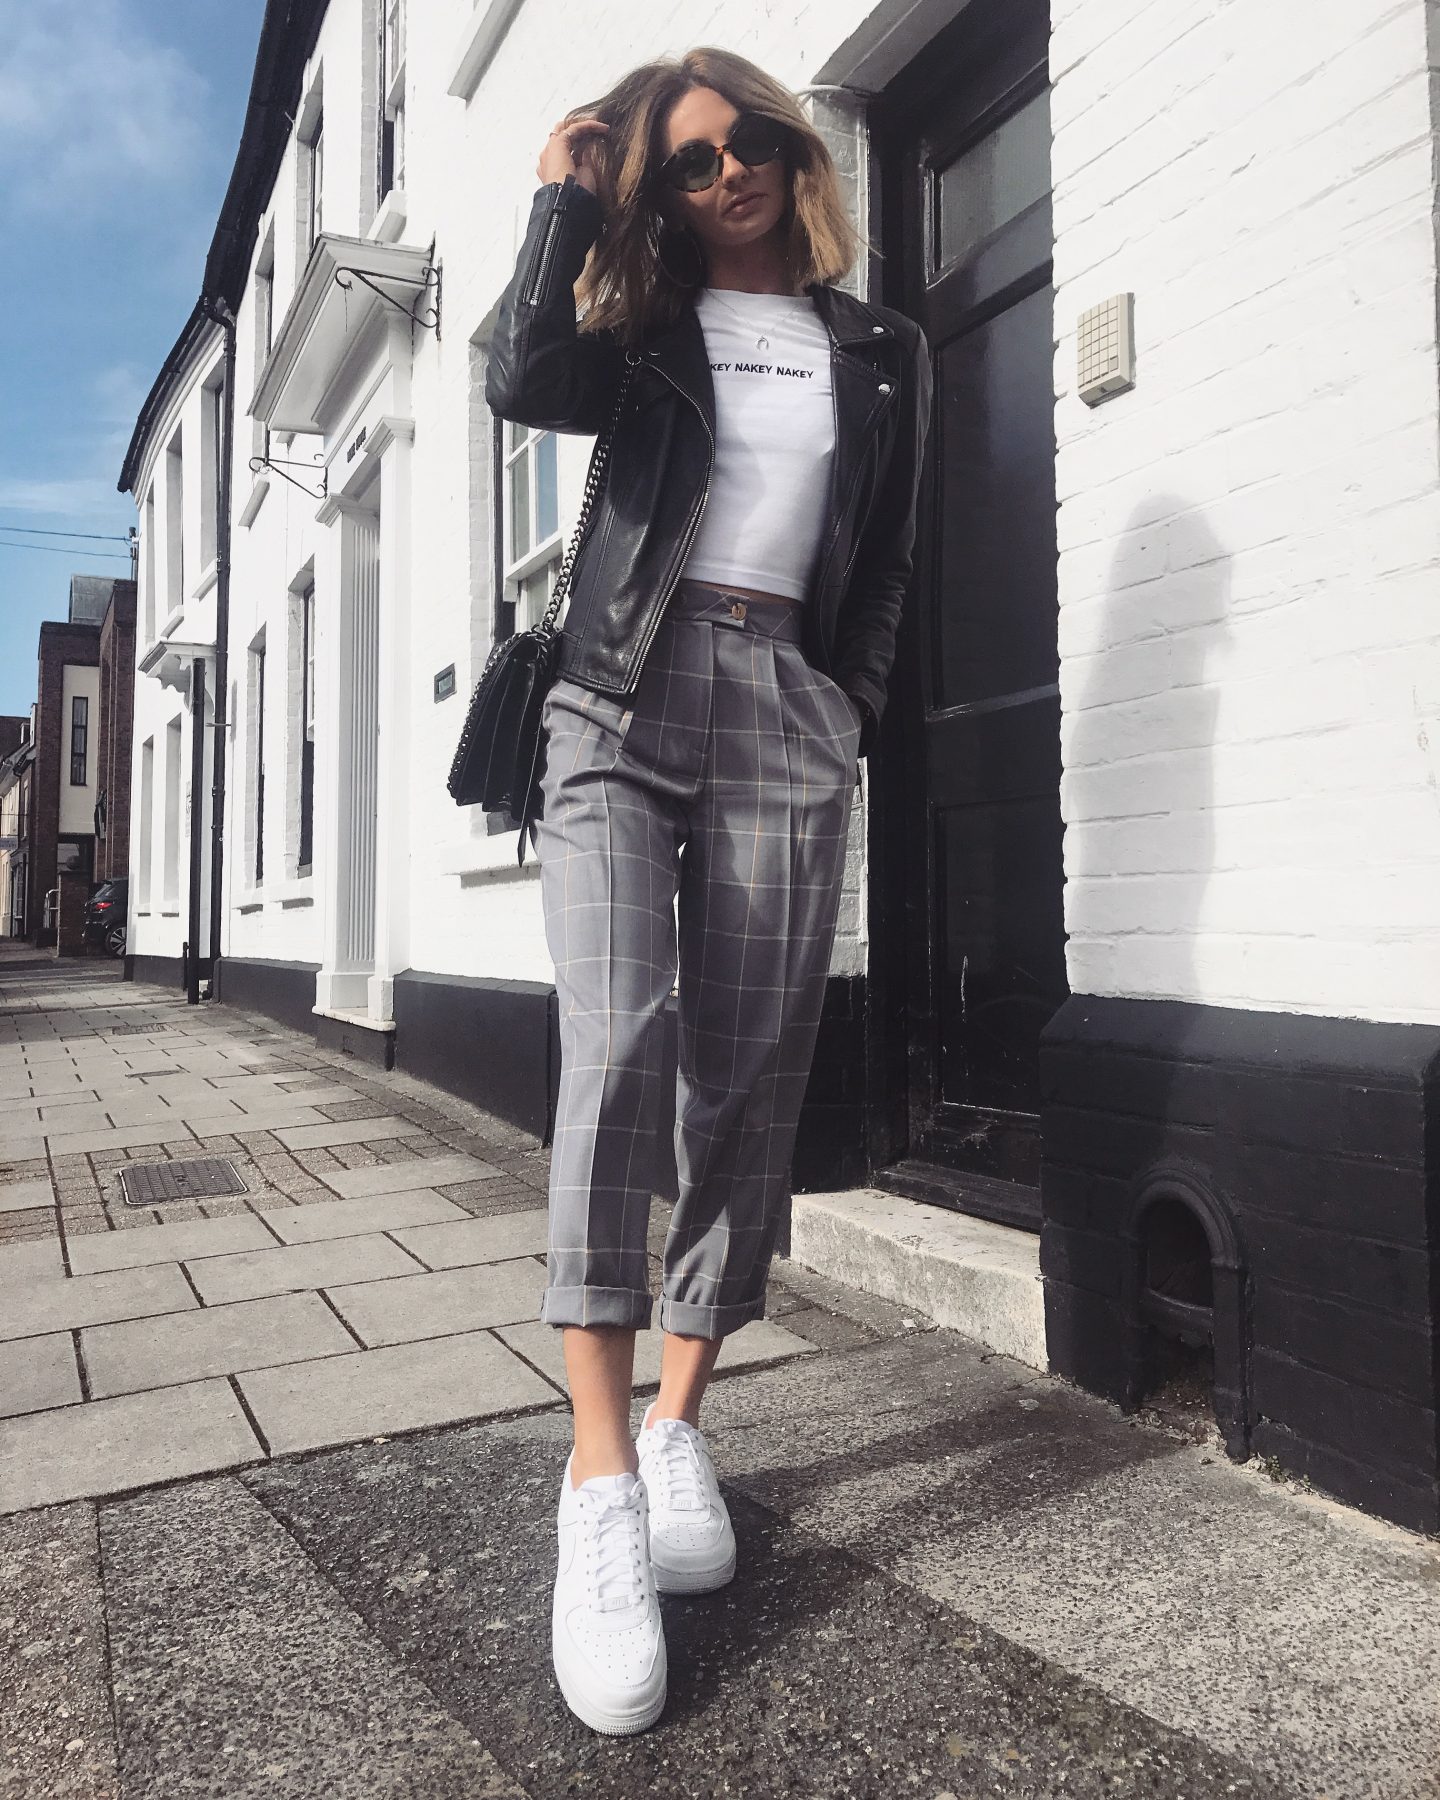
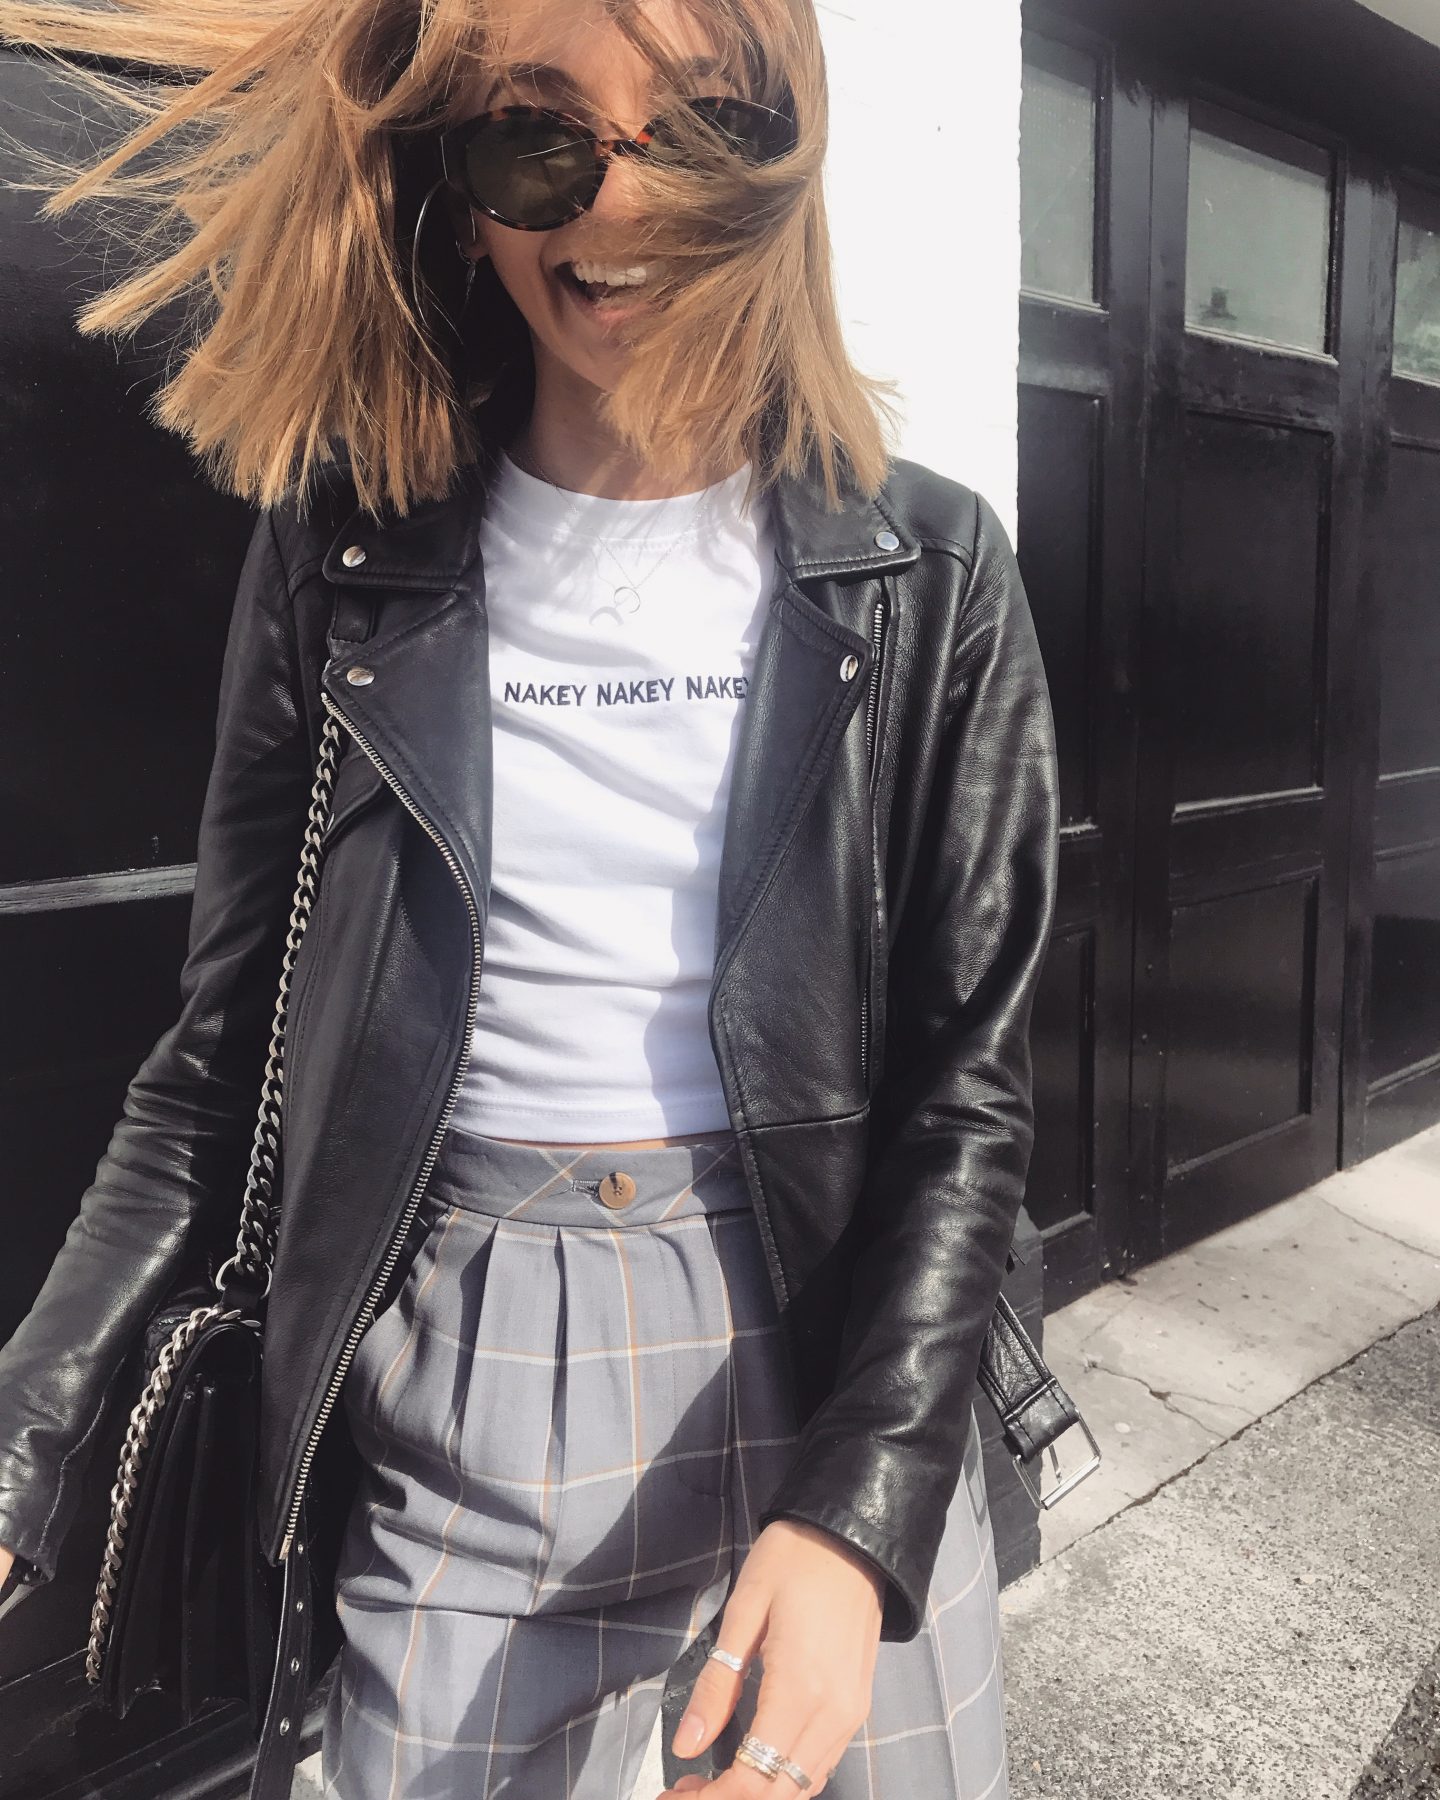
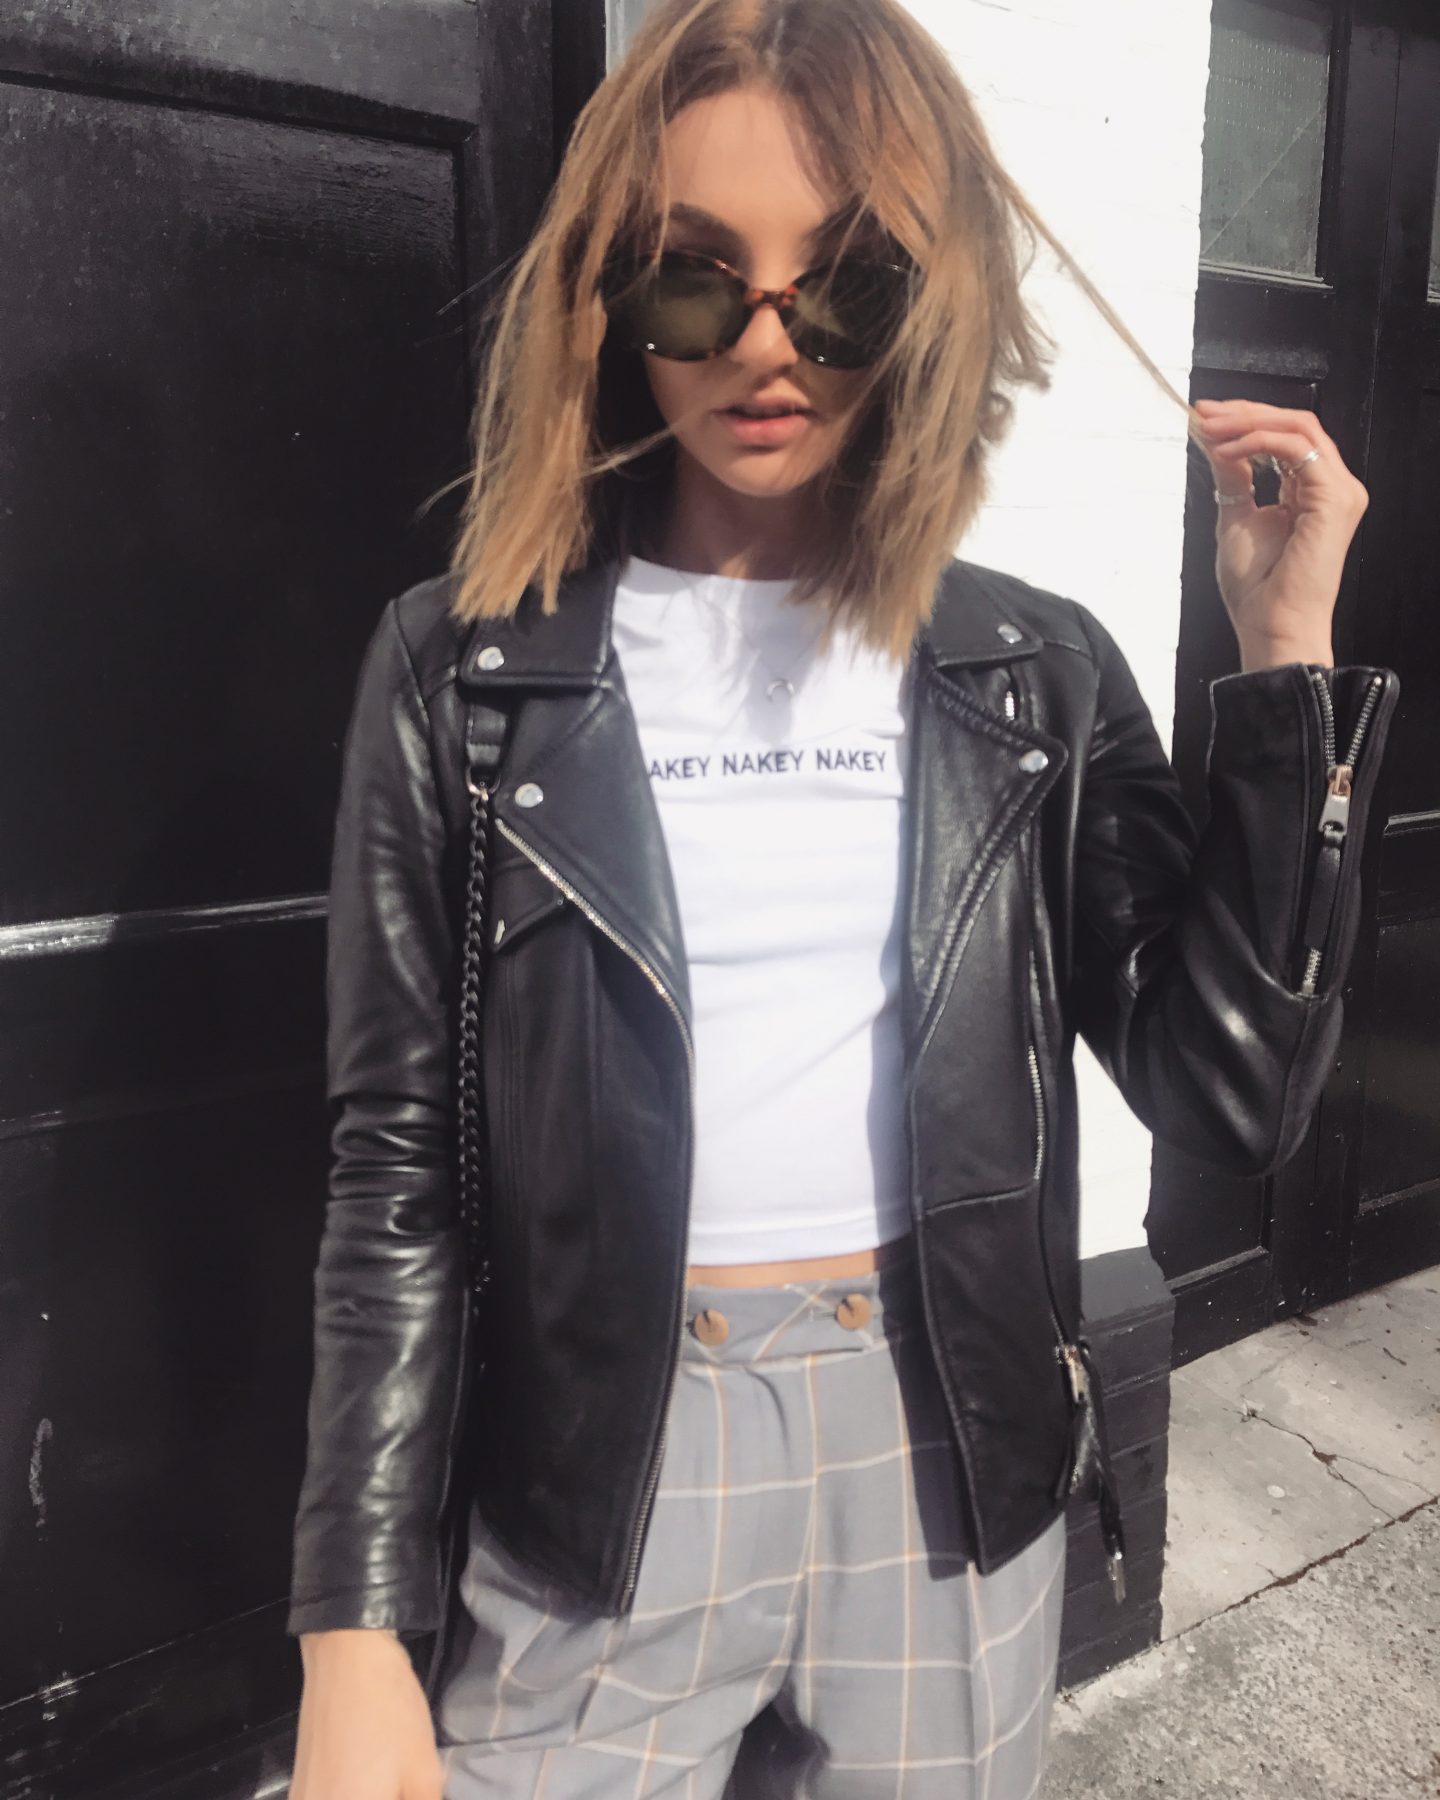
To start things off, by trying to achieve a ‘good’ image, I will always try and take my pictures when it is good lighting. Lighting is absolute key to how the image turns out and how much editing it requires. Sunny days are great, but can sometimes be a pain because you might come out really pale or have a shadow in the picture. You probably could edit your shadow out with these apps, but don’t ask me how, because I have not yet discovered how to it.
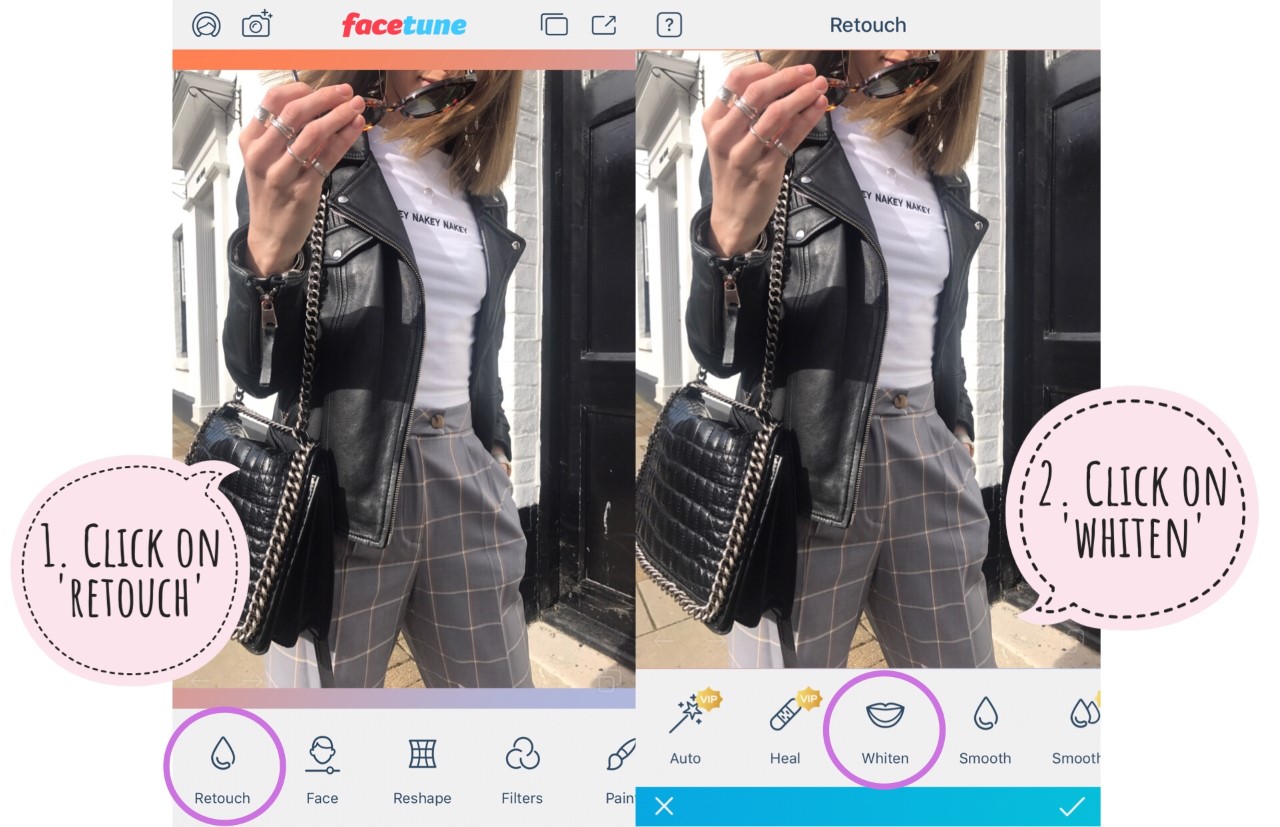
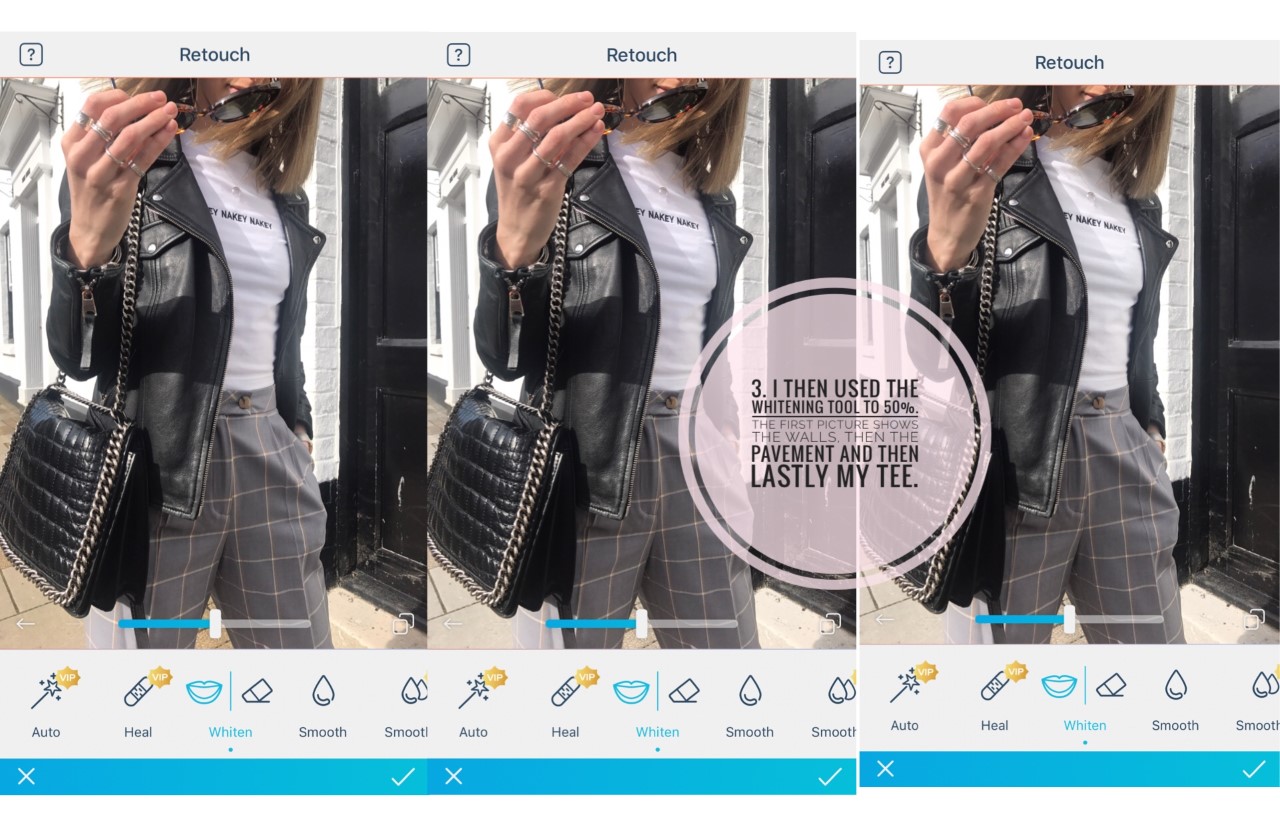
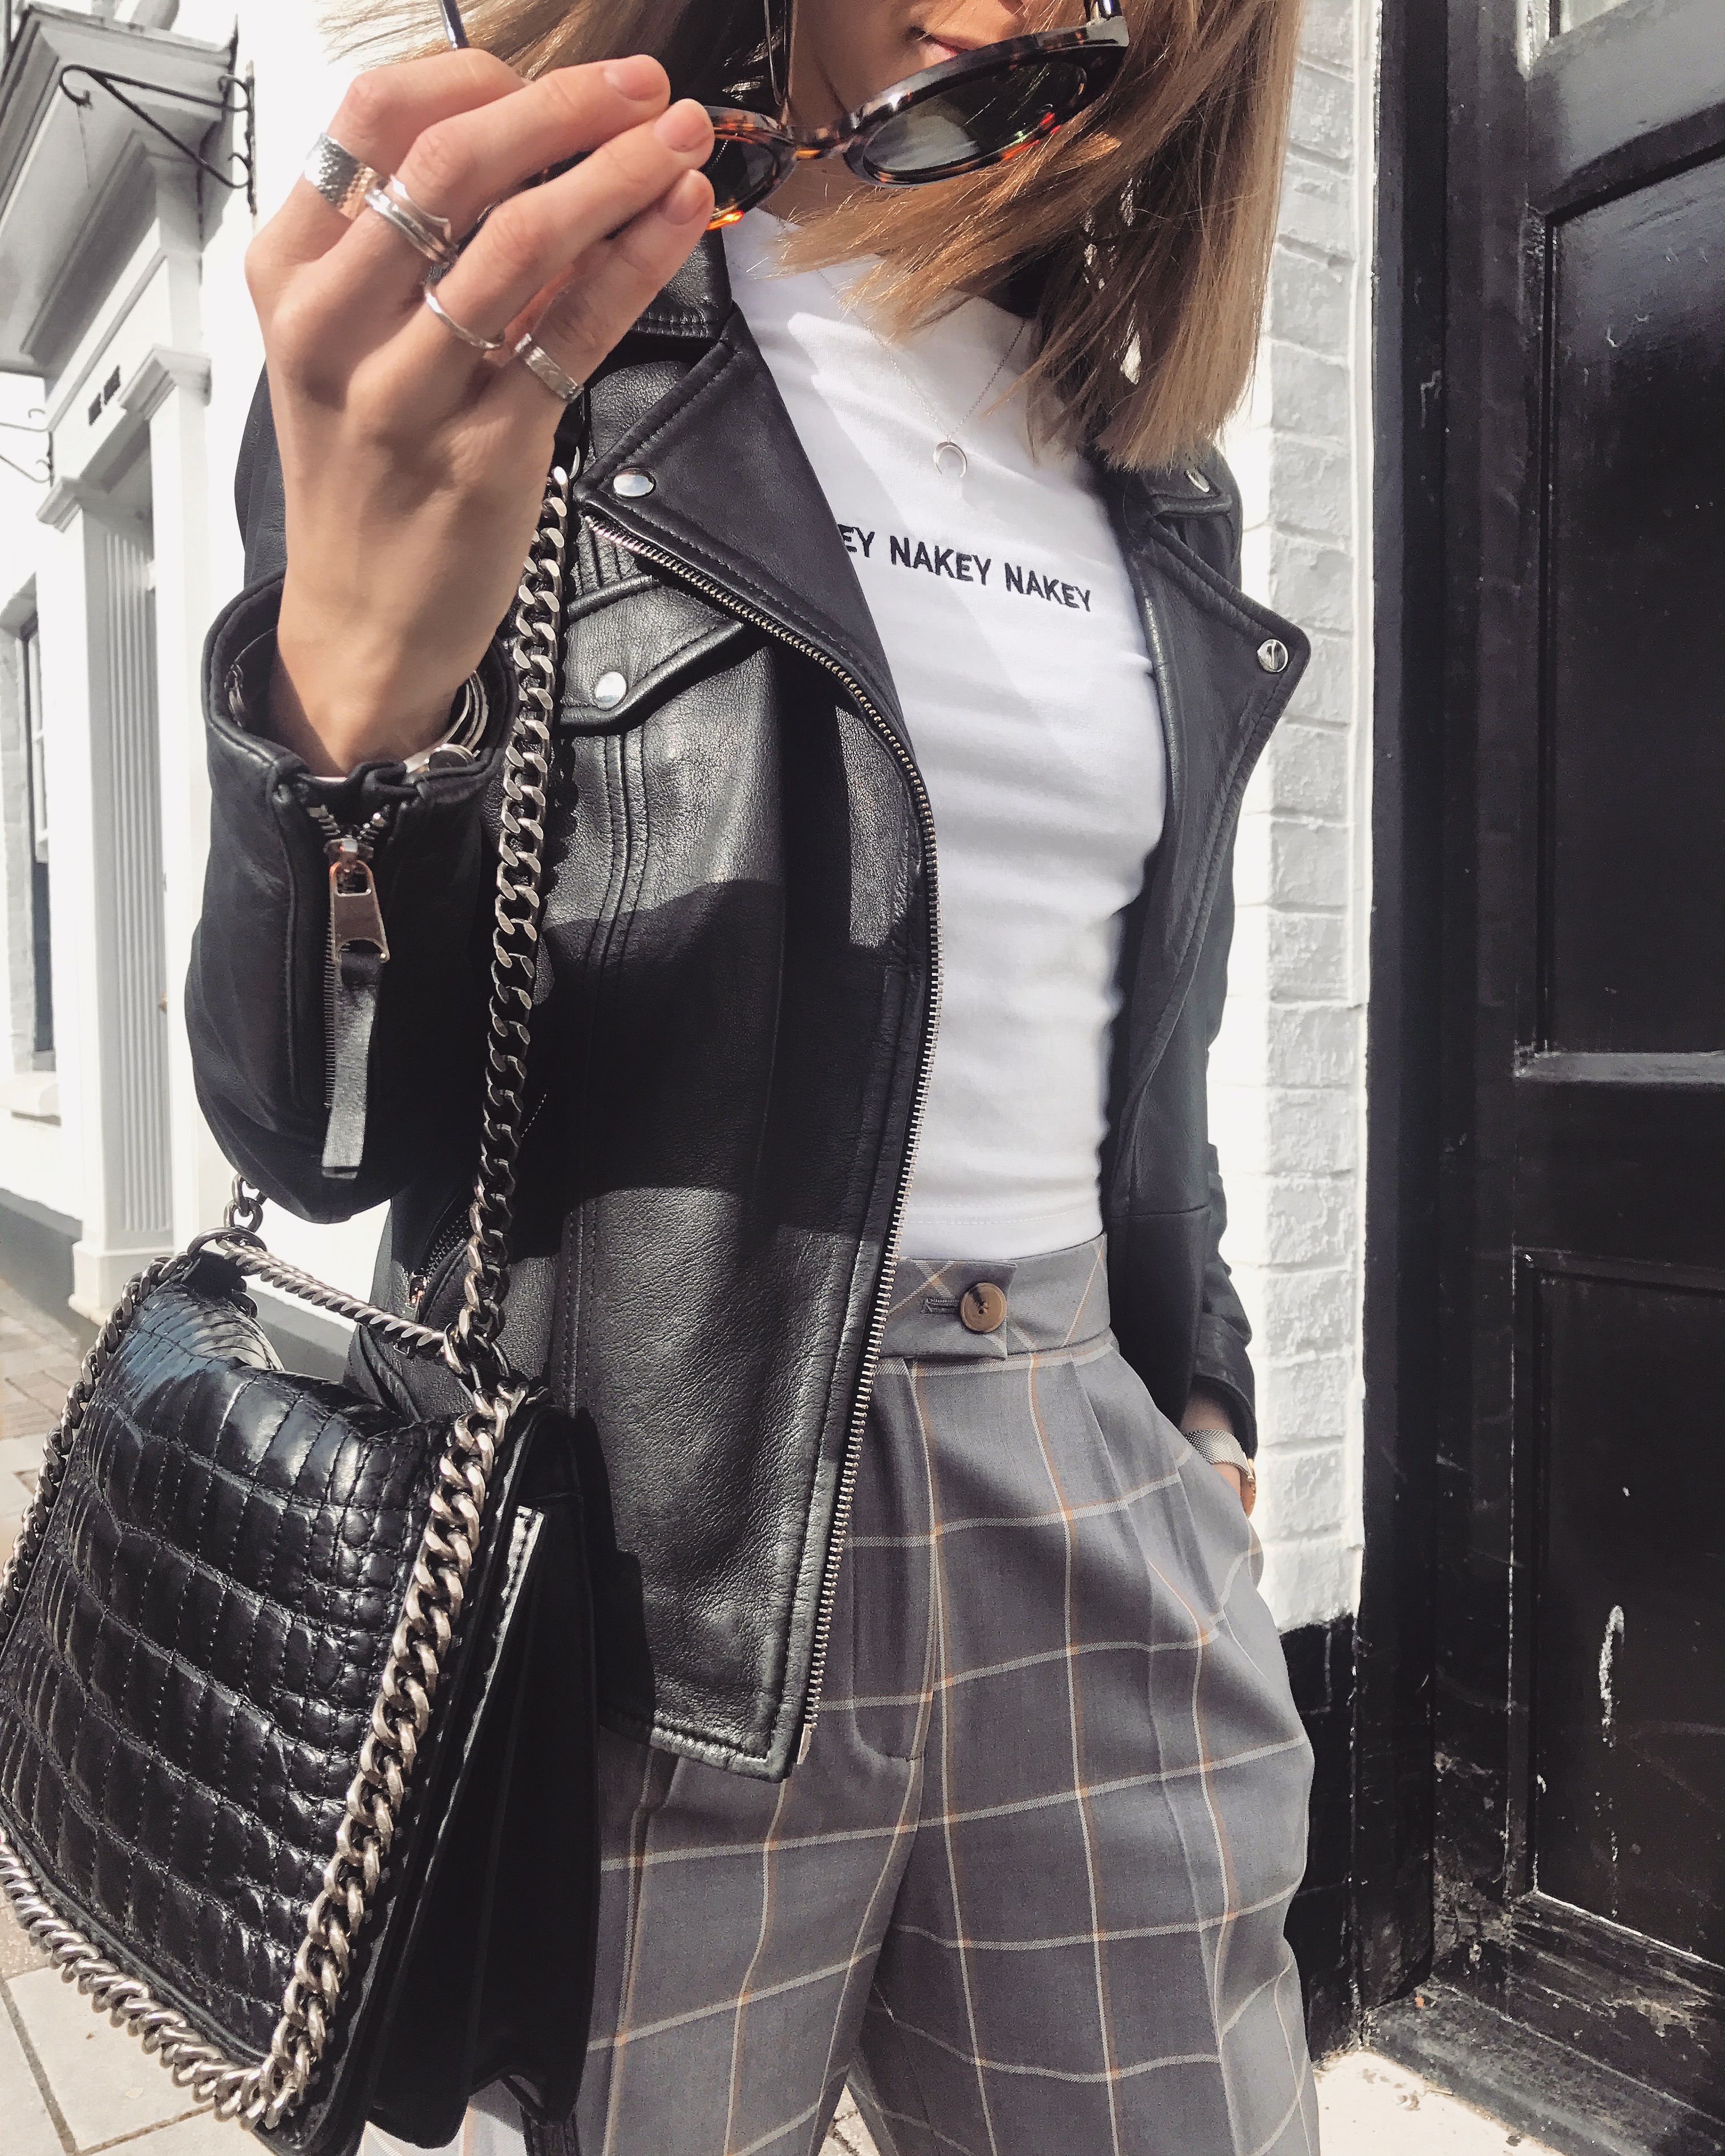
Okay so I’ve taken my picture in decent lighting (hopefully) and the first thing that I will do is go on to the app ‘Facetune 2‘. I click on the ‘retouch’ (a little raindrop icon) option on the bottom of the screen, once I’ve clicked on that I go onto the ‘Whiten’ tool. This is amazing for whitening, stating the obvious I know, backgrounds, clothing and obviously your teeth. These pictures in the post I used this tool to whiten the walls, my tee and also the pavement. Sometimes pavements can look gross and almost green so using this will give it a nice grey tone. I never use the whiten tool to its full 100. I’ll always use it about 50 or 60.
Still on Facetune 2, I’ll use the ‘Smooth’ tool to smooth out creases on my clothes and also my face if I have a beaut juicy spot that day. Again, I don’t use it to the full 100 effect. If you swipe along the bottom, you have lots more options to choose from. Sometimes I’ll use ‘Details’ (Triangle icon with lines in it) and I’ll go over for example the writing on my top and the chain on my bag just to make it a bit more detailed. It is also really cool if you put it on your eyes to make them pop, but don’t go to extreme because it can be really noticeable, link here if you want to see me making that mistake.

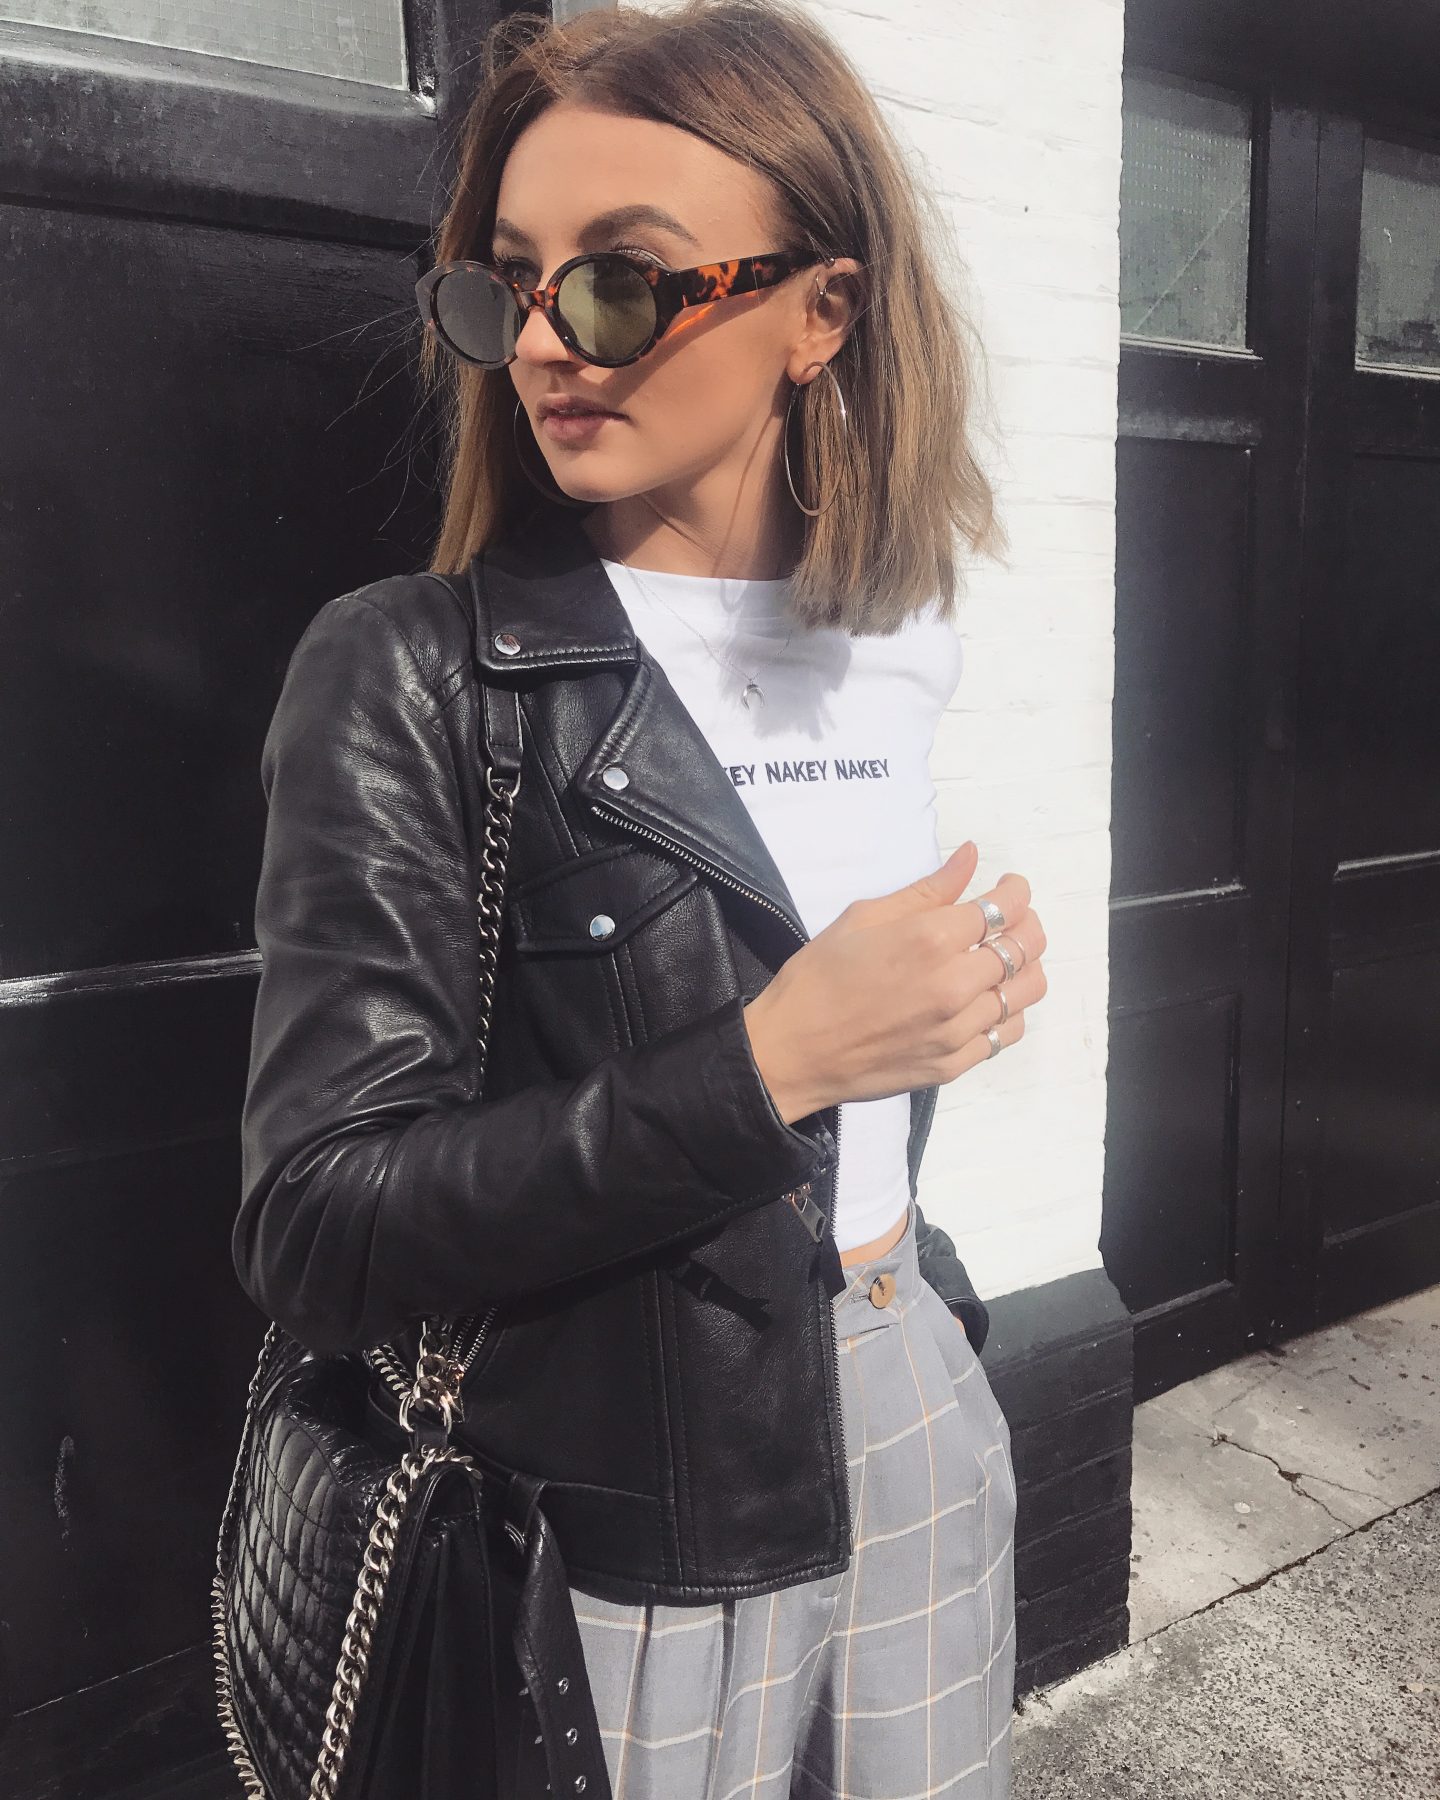
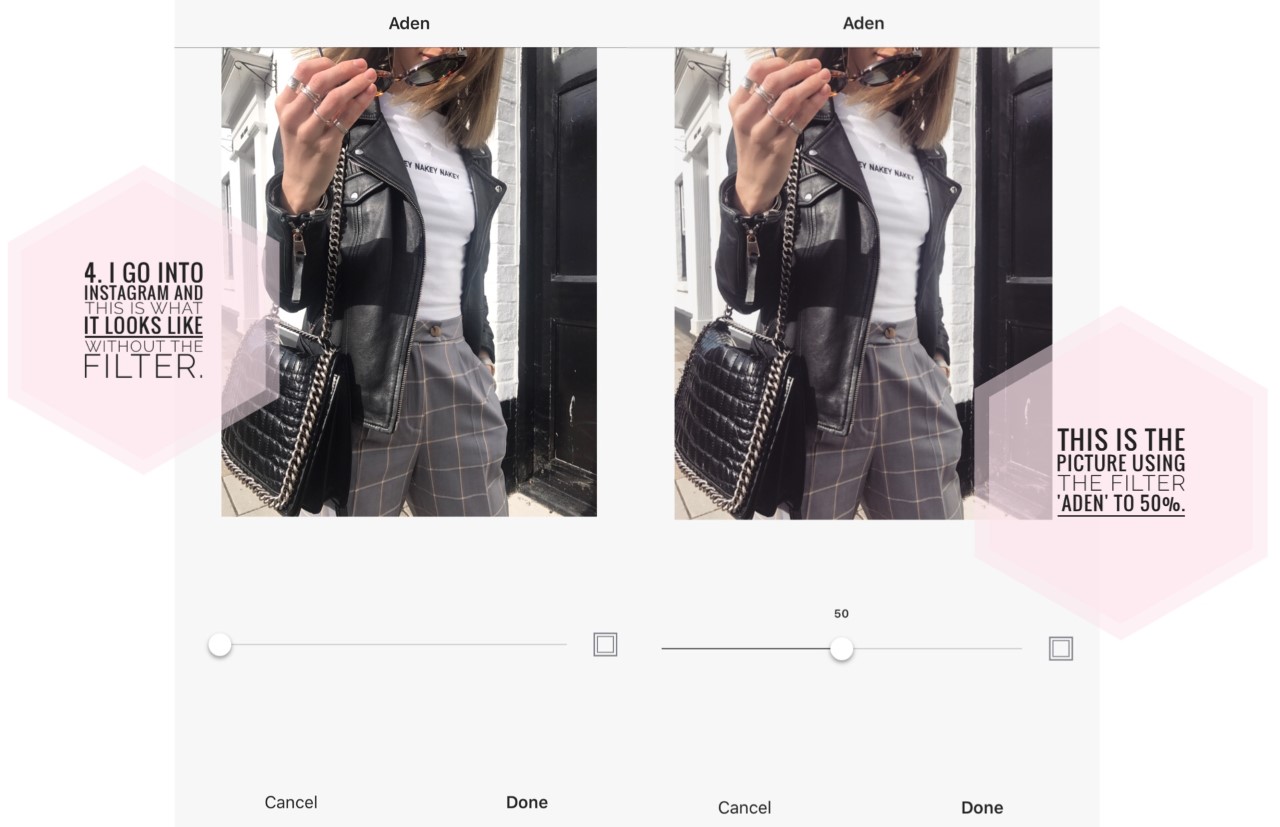
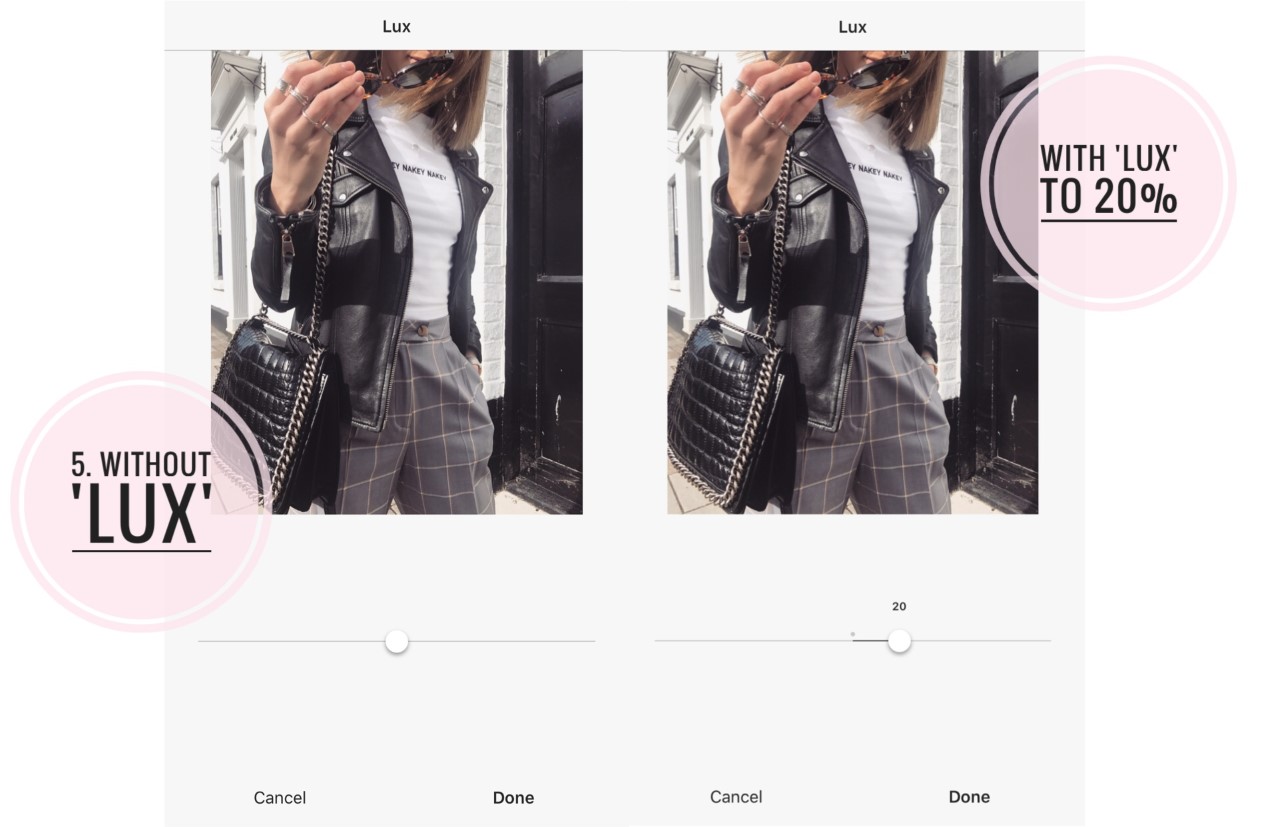
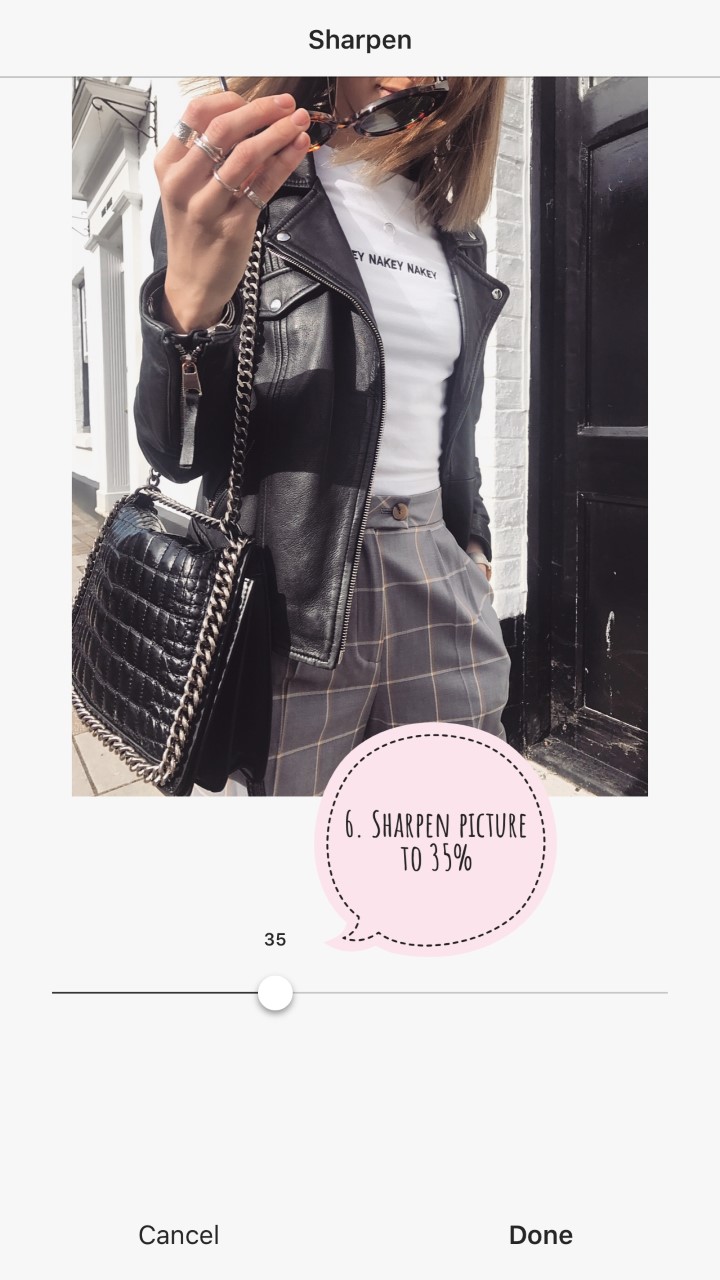
By this point I’m pretty happy with how it has turned out, so I’ll save it and then go onto Instagram. For every picture and I mean every picture, I always use the filter ‘Aden’. I really like the fact it still gives a warm tone but isn’t as yellow as ‘Valencia’. When you click on the filter Aden, it uses it to the 100% max, but if you click on Aden again, it then comes up with a horizontal scrolley line. I normally put Aden to about 50% or 60% depending on the colour tones of the image. I’ll then use ‘Lux’ (Little sun icon right at the top of the screen) which just adds a bit more depth/shadowing. I’ll put this to about 15% – 25%, again depending on the photo. Very rarely I use ‘saturation’ but if I’m looking a bit like a ghost if can be a life saver. Last but not least, I sharpen the image to about 35% and it’s done and posted on Instagram.
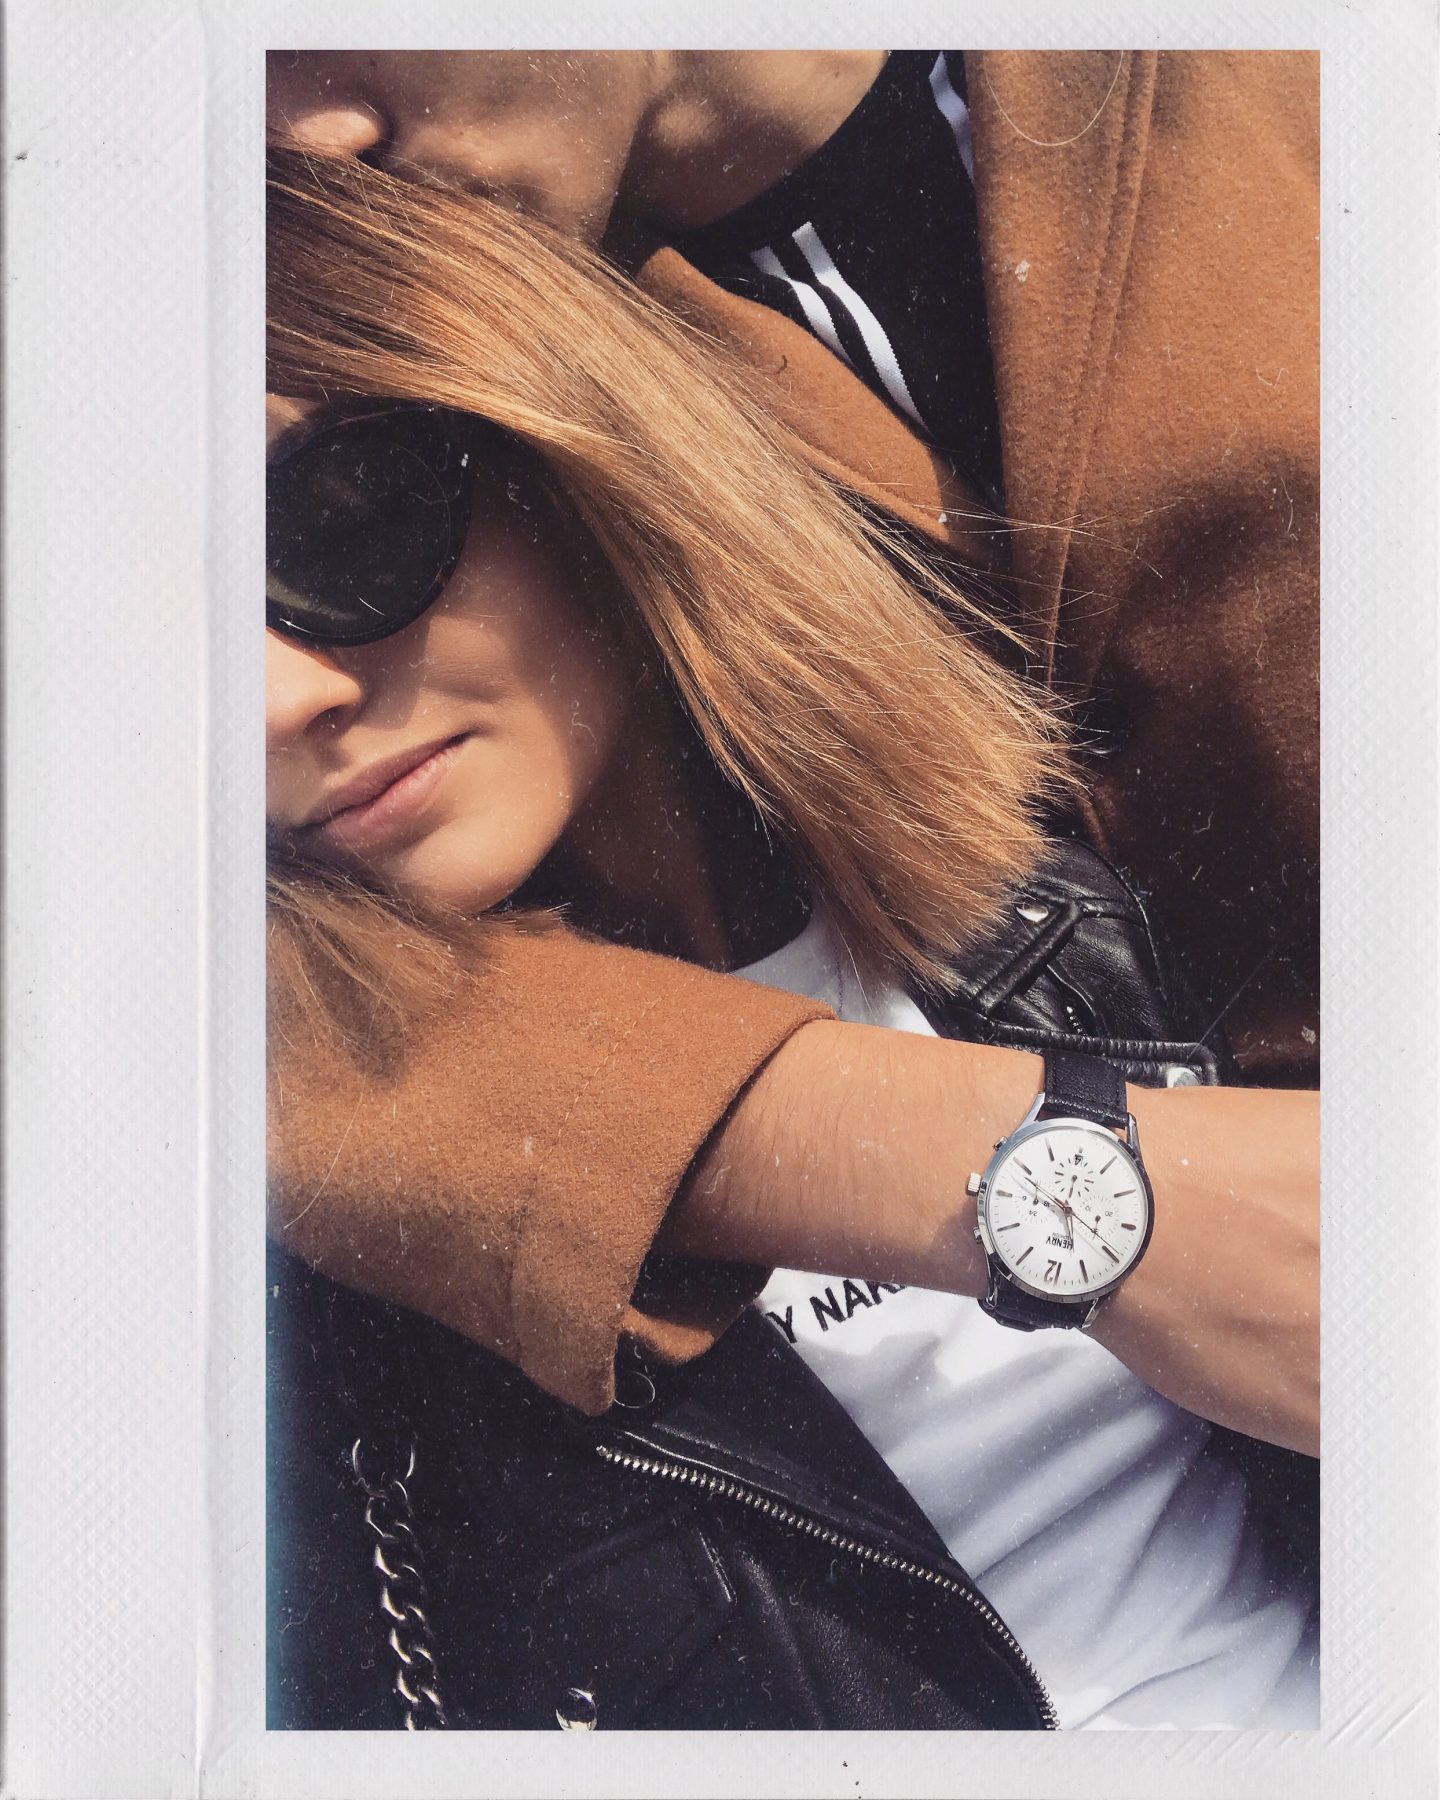
Yes, I have only spoken about two apps there but that is my essential basic edit for any image. Sometimes I’ll want to add a bit more. For the image above I used the Afterlight, which unfortunately you do have to pay for, but it is worth it because there is some great features on it. One that I use occasionally is the dust effect. It’s really cool to make an image look kind of old lol. Another one that I use is the polaroid frames, which sadly again, you have to pay again for that extra. On Afterlight it does have preset filters that you can use and all the basic editing tools, but I literally use Afterlight for dust or poloroid frame.
Snapseed be a little confusing when you first get it, but is really useful once you figure it out. I’ve used this app before to remove signs in backgrounds and nasty looking spots by using the tool ‘healing’. It also has this tool called ‘Brush’ where you can brush over parts of the picture, controlling saturation, temperature and exposure. Little fact, I used to get carried away with this tool and over exposure the shit out of my background (link here if you want to see). I’m actually a bit embarrassed that I used to post my images looking like that haha. One thing I use Snapseed for is the ‘Perspective’ tool. Now I’m not going to lie, I’m 5’3 so this helps me looking a bit more taller than I actually am. I always use this if I have a full length photo. So when you are on the tool, if you do a long slow swipe up the image, you should see it slightly tilting up, kind of like when you see the words in the beginning of a Star Wars film. Doing this will make your head look slightly smaller but it will also make your legs looks slightly longer!
VSCO is another great app. VSCO also has a wide range of filters to use and again, the basic editing tools. But I only use this app for one thing and that is the grain. This is the best app I found for putting a grain onto a picture. Afterlight does have a grain option, but I found that using the Afterlight one, it also brightens up the image which I didn’t want so VSCO works best for me.
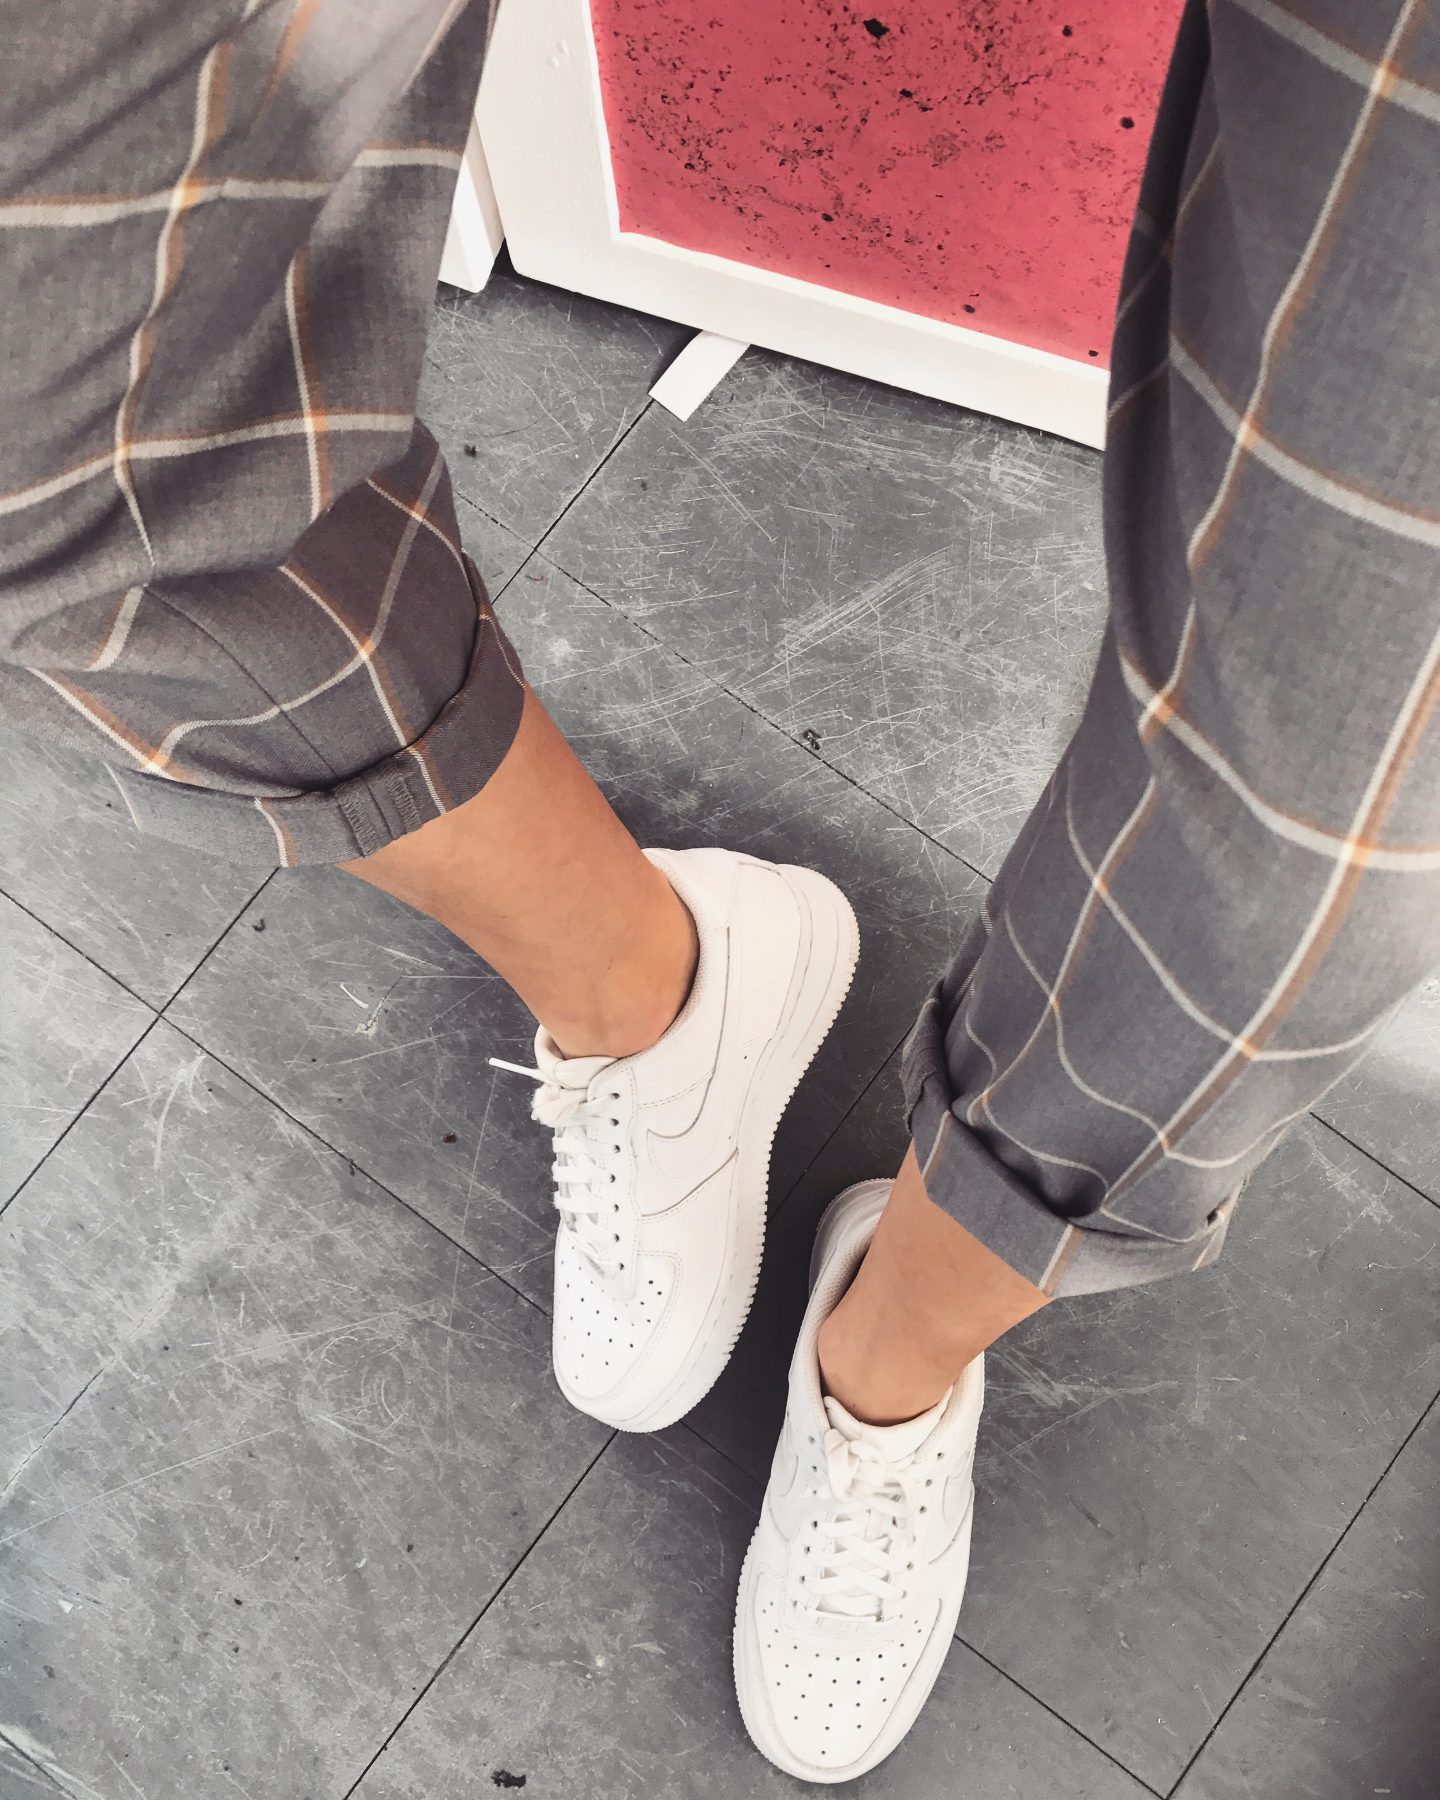
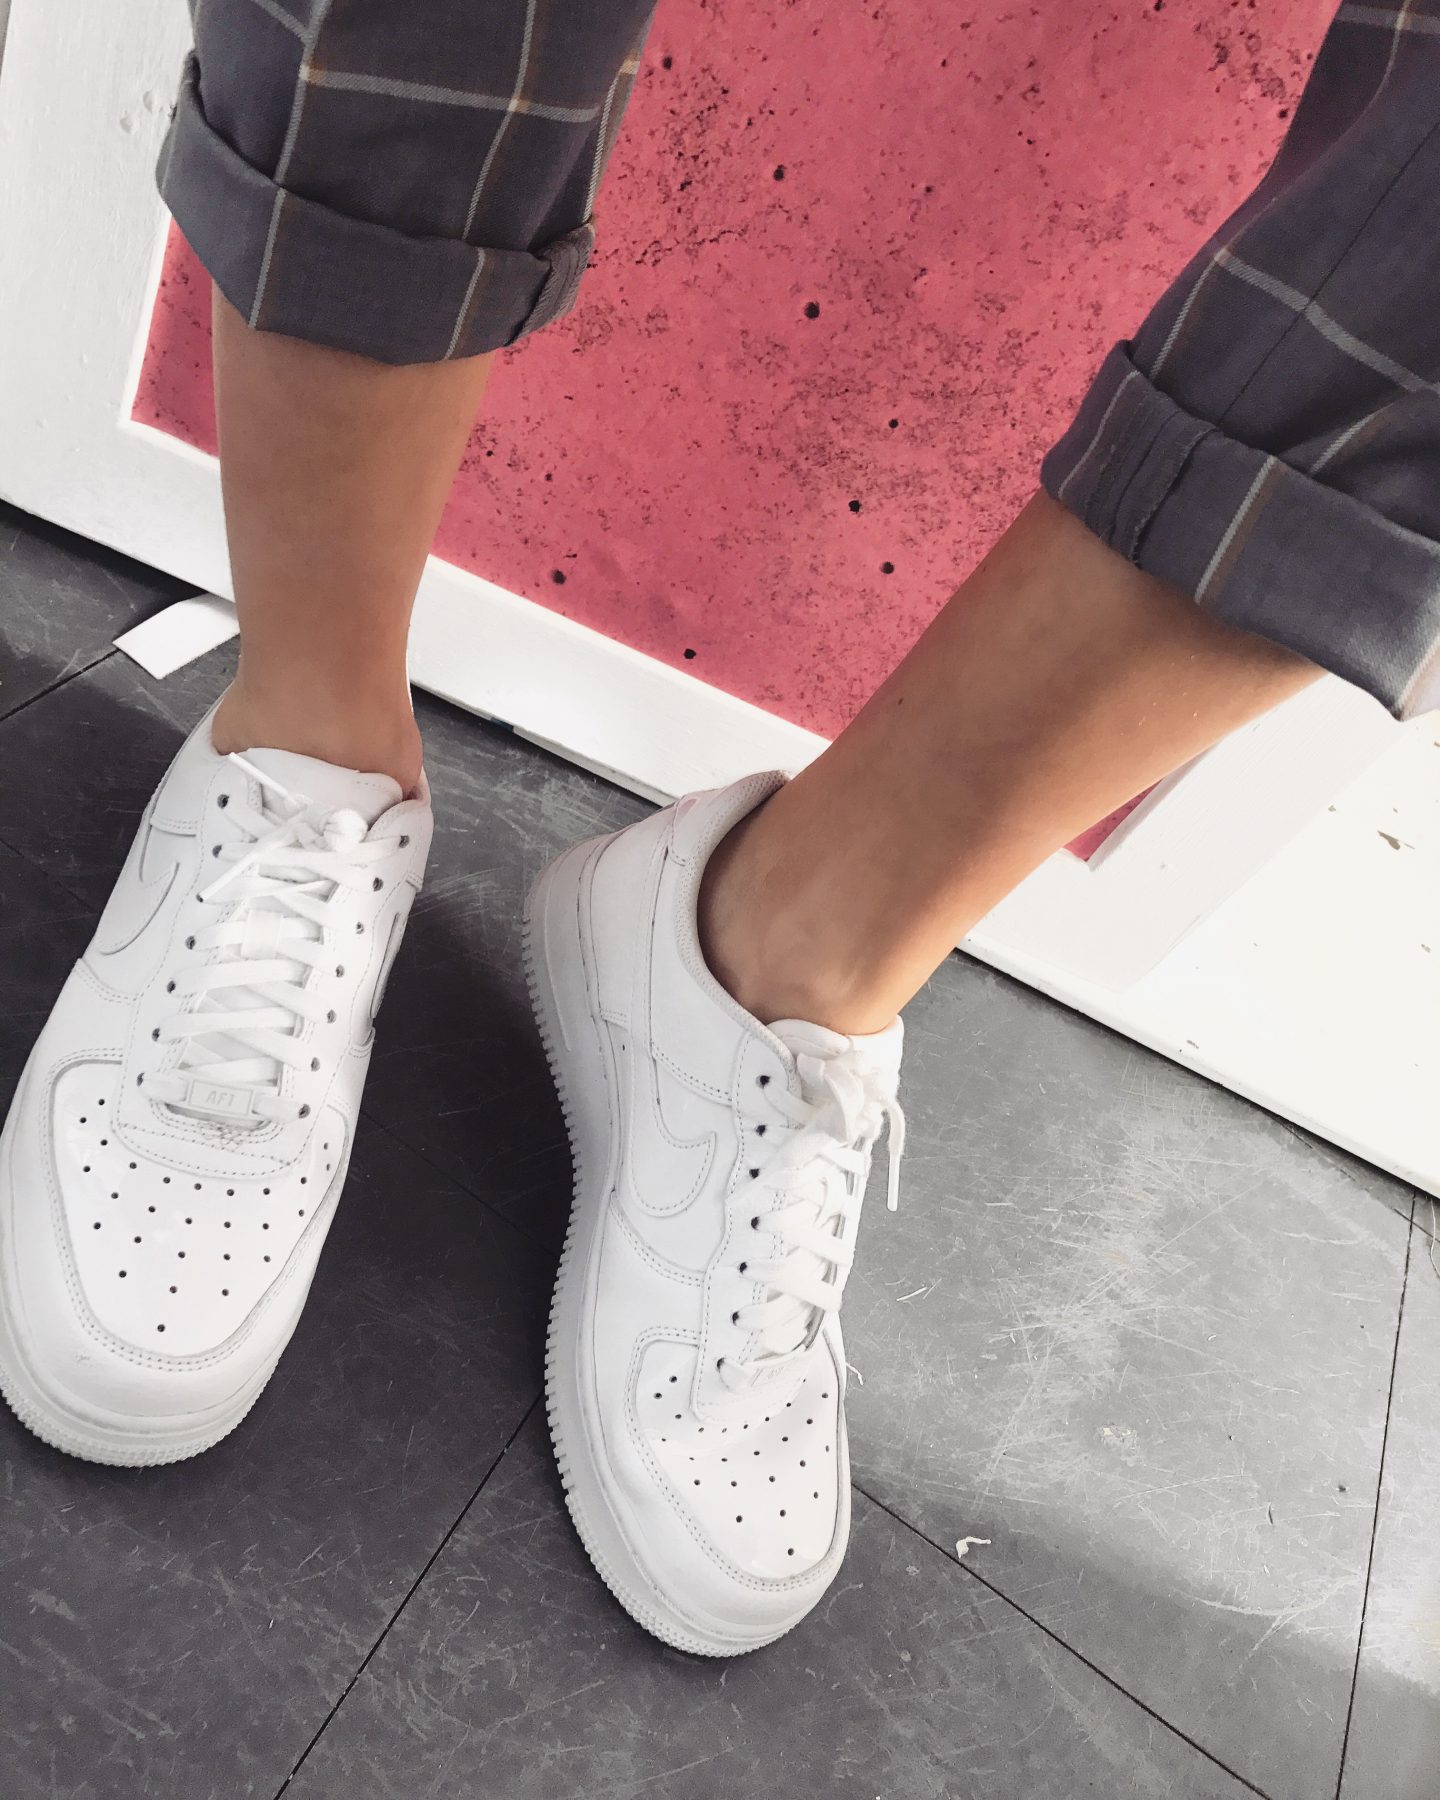
SCREENSHOTS
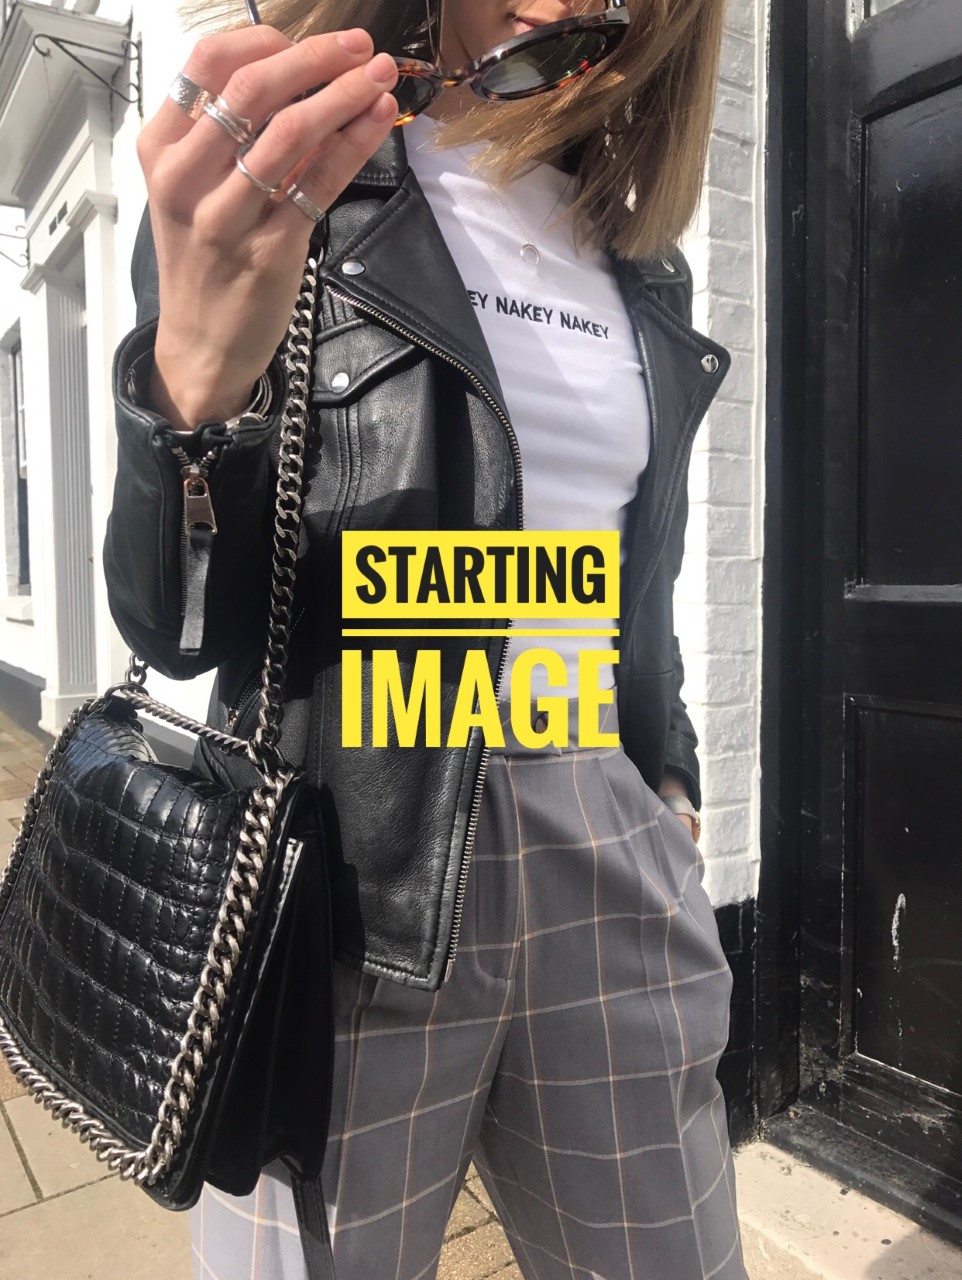
Okay so now that I have explained in detail what I do, and hopefully you understood it, I thought I would do screenshots of the process to make it a little bit more clearer!
I really hope this helped and was understandable, if not then let me know if you would prefer a Youtube video.


This was such a good post. So informative and easy to read and understand. I also love the little touches of the screen shots, which are edited really lovely and make it so easy to follow. Great post xx