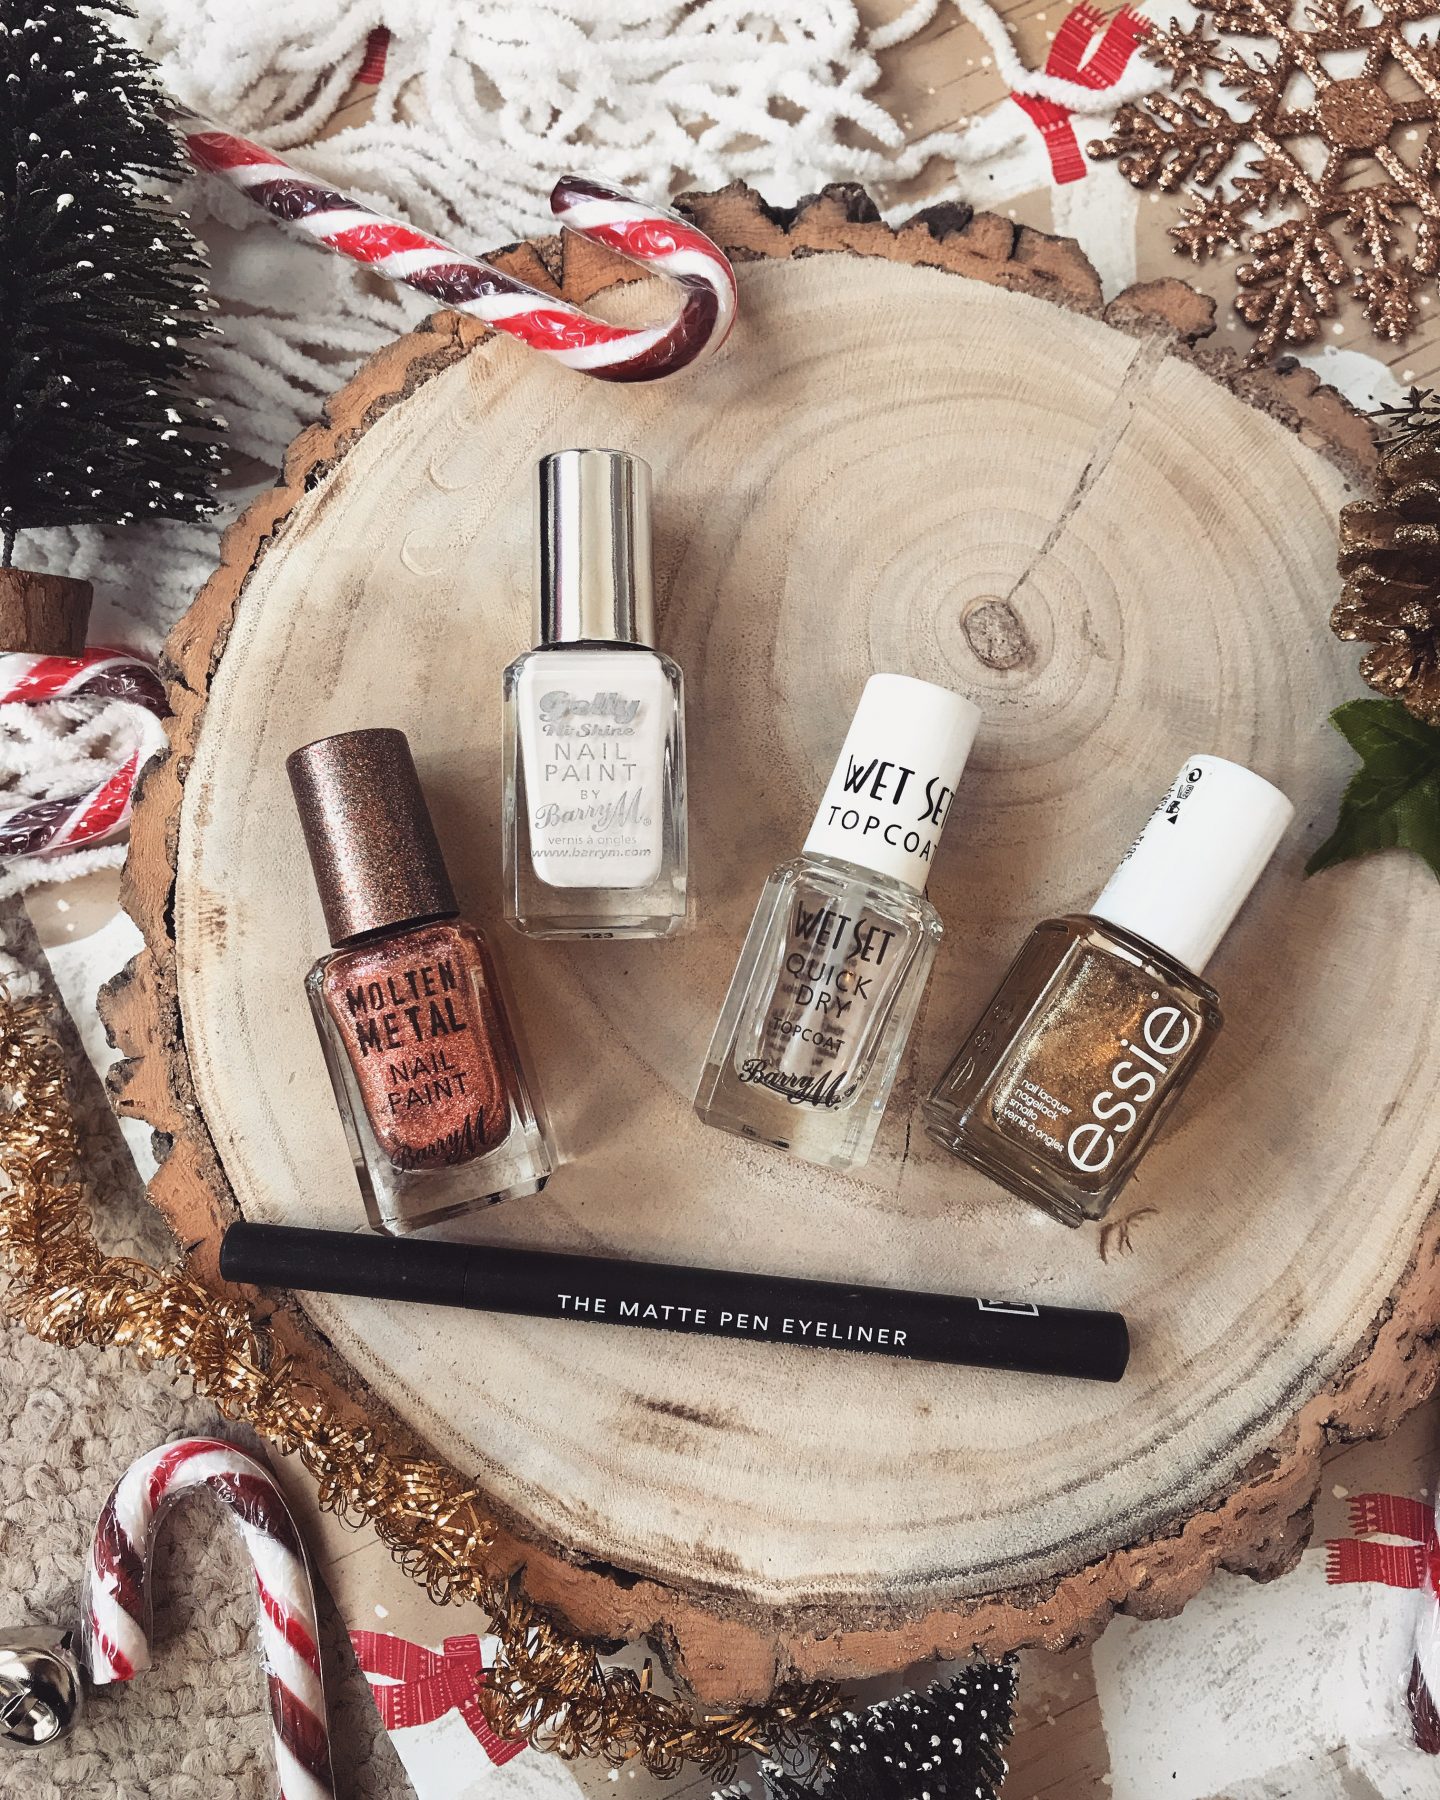
As important the gift buying is, your Christmas nails are also a big priority too. I’m one of those girls who has a massive box full of nail polish and love changing the colour all the time. I also get a little bored so try to experiment and come up with new things. So here are my four festive nail art deigns. I really love them all and I can’t wait to try them all again but with different colours the next time. Below I will talk you through how I created them and hopefully you will understand it. If you do try any of them out then please tag me on Instagram or let me know as I would love to see!
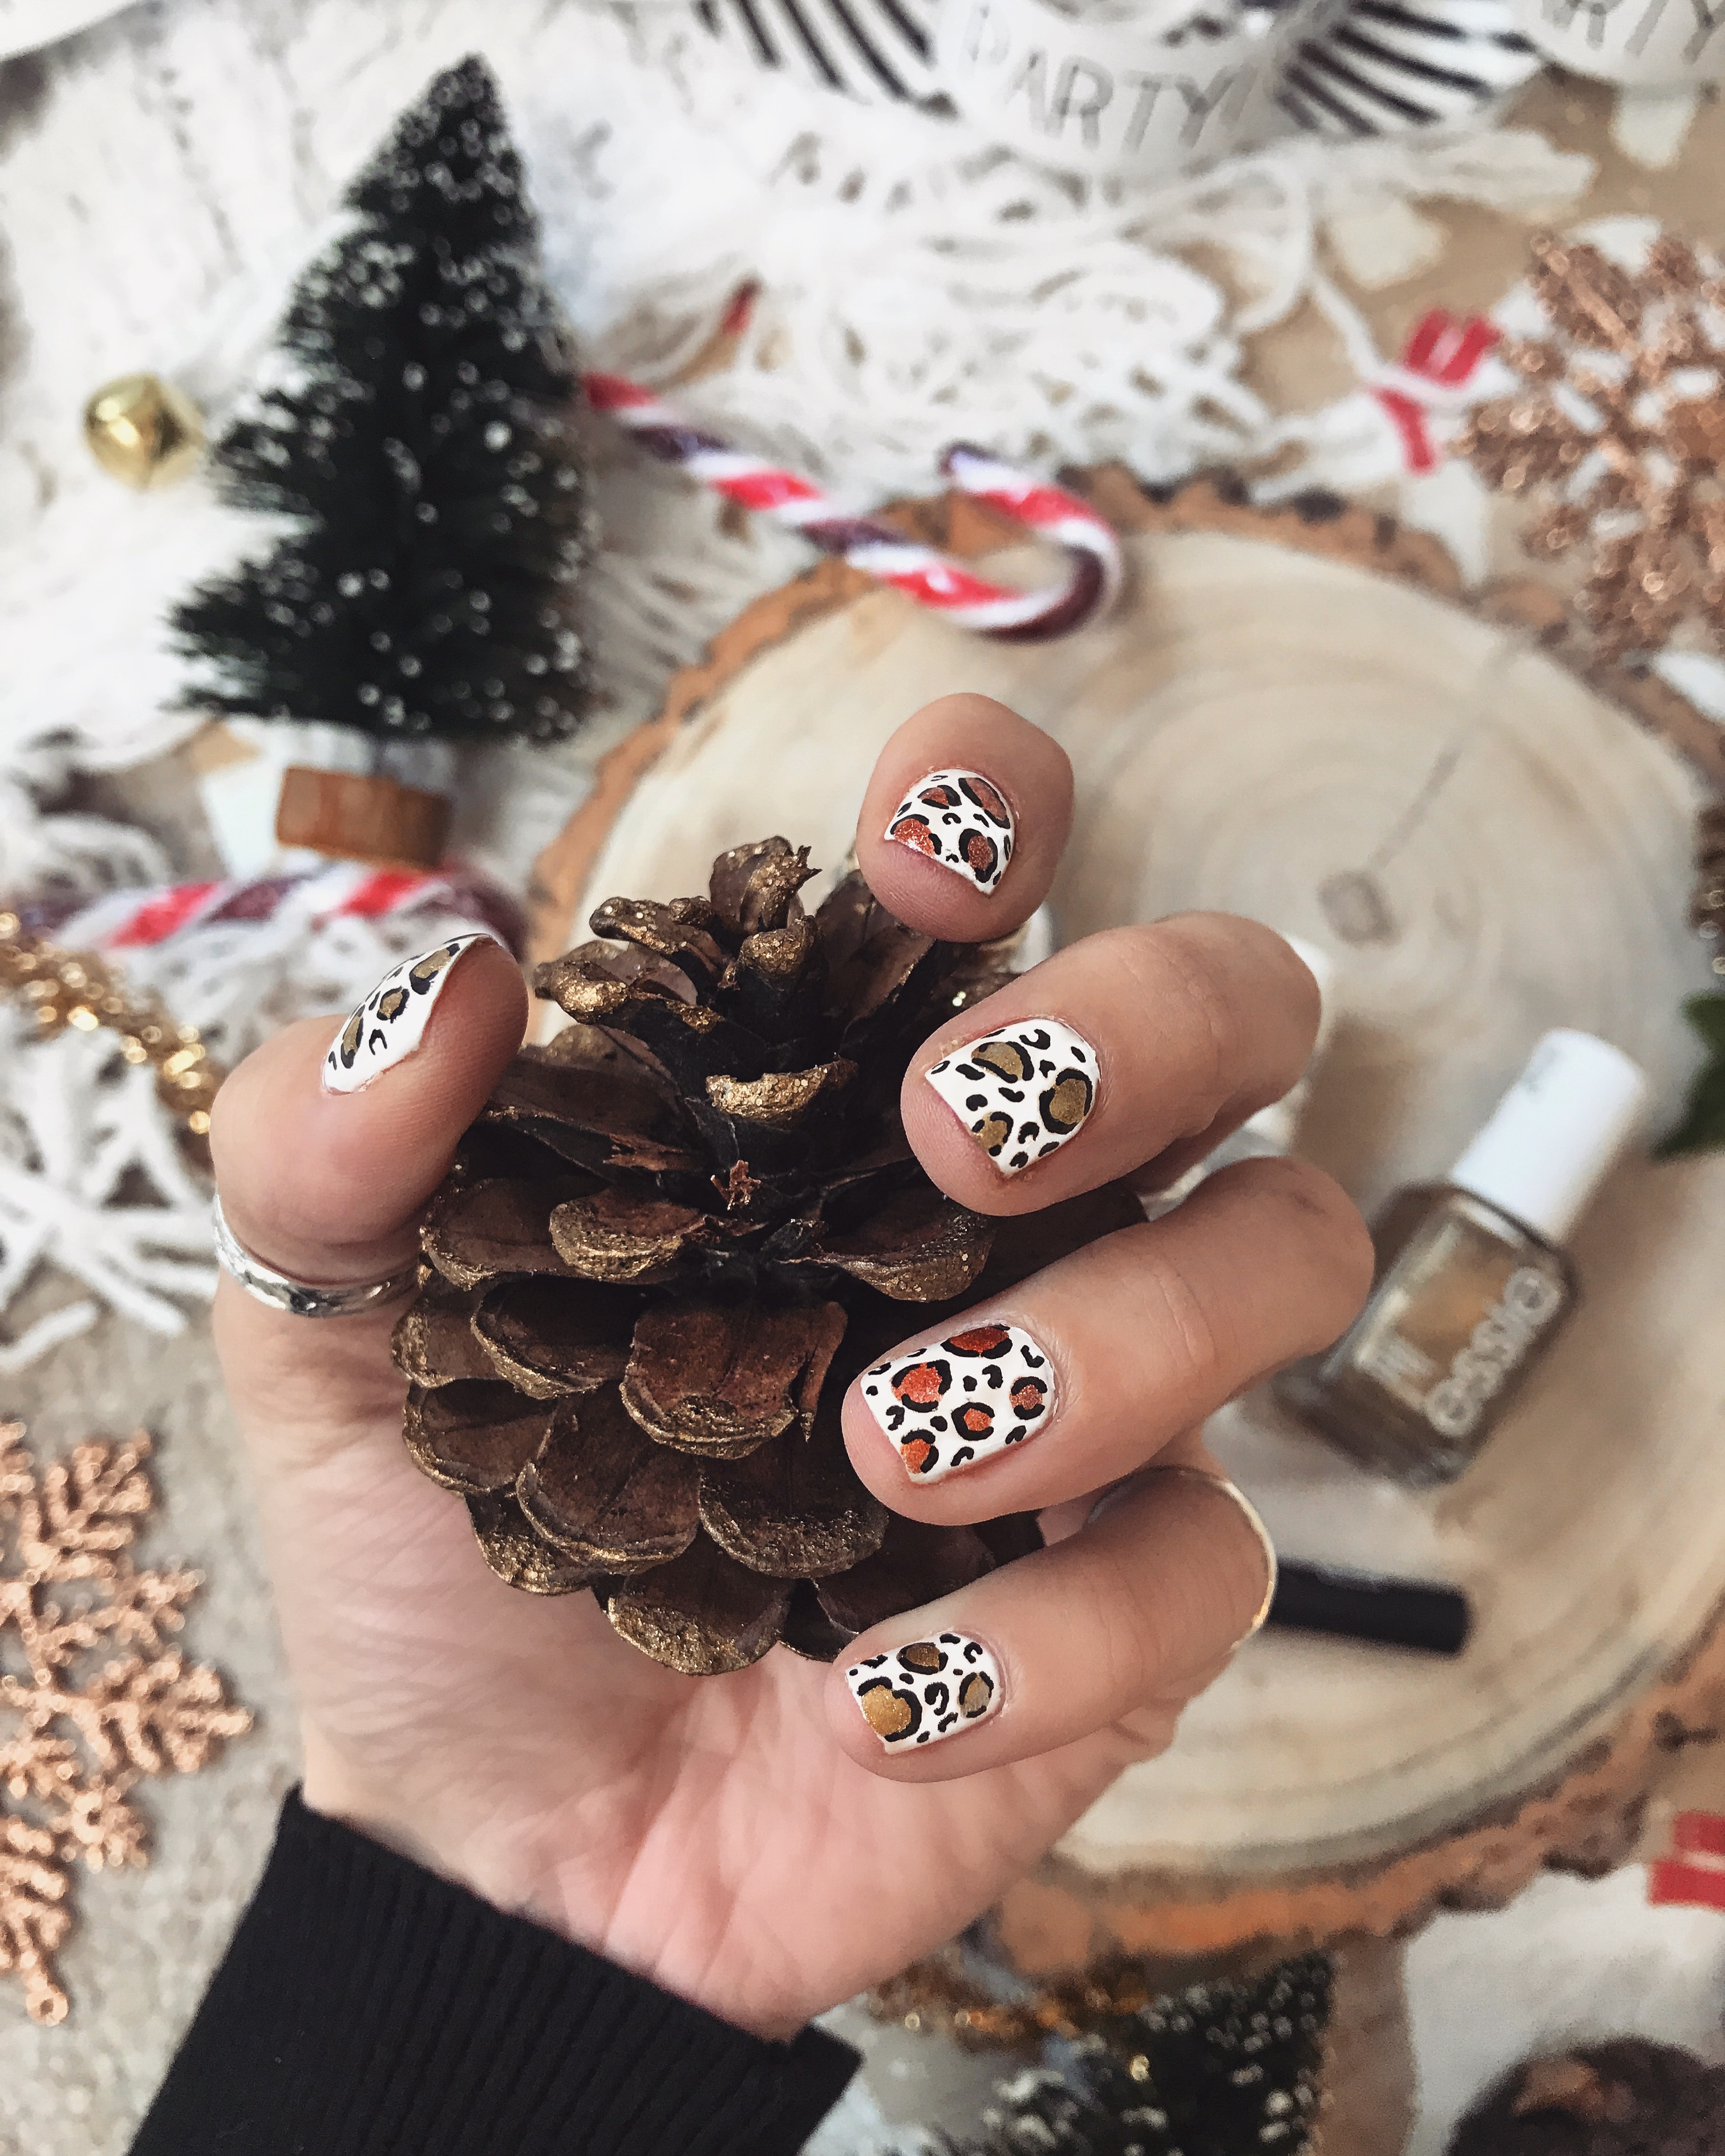
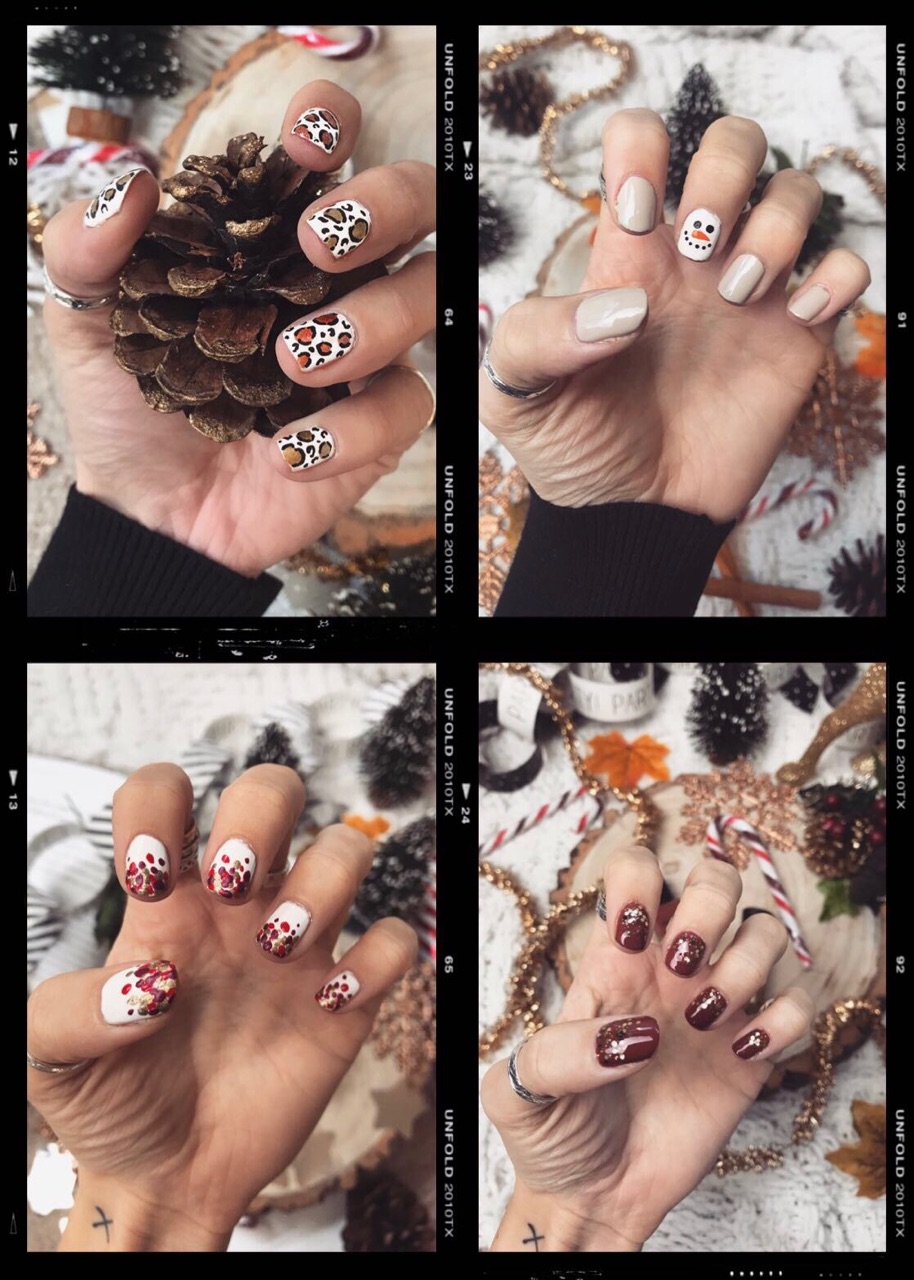
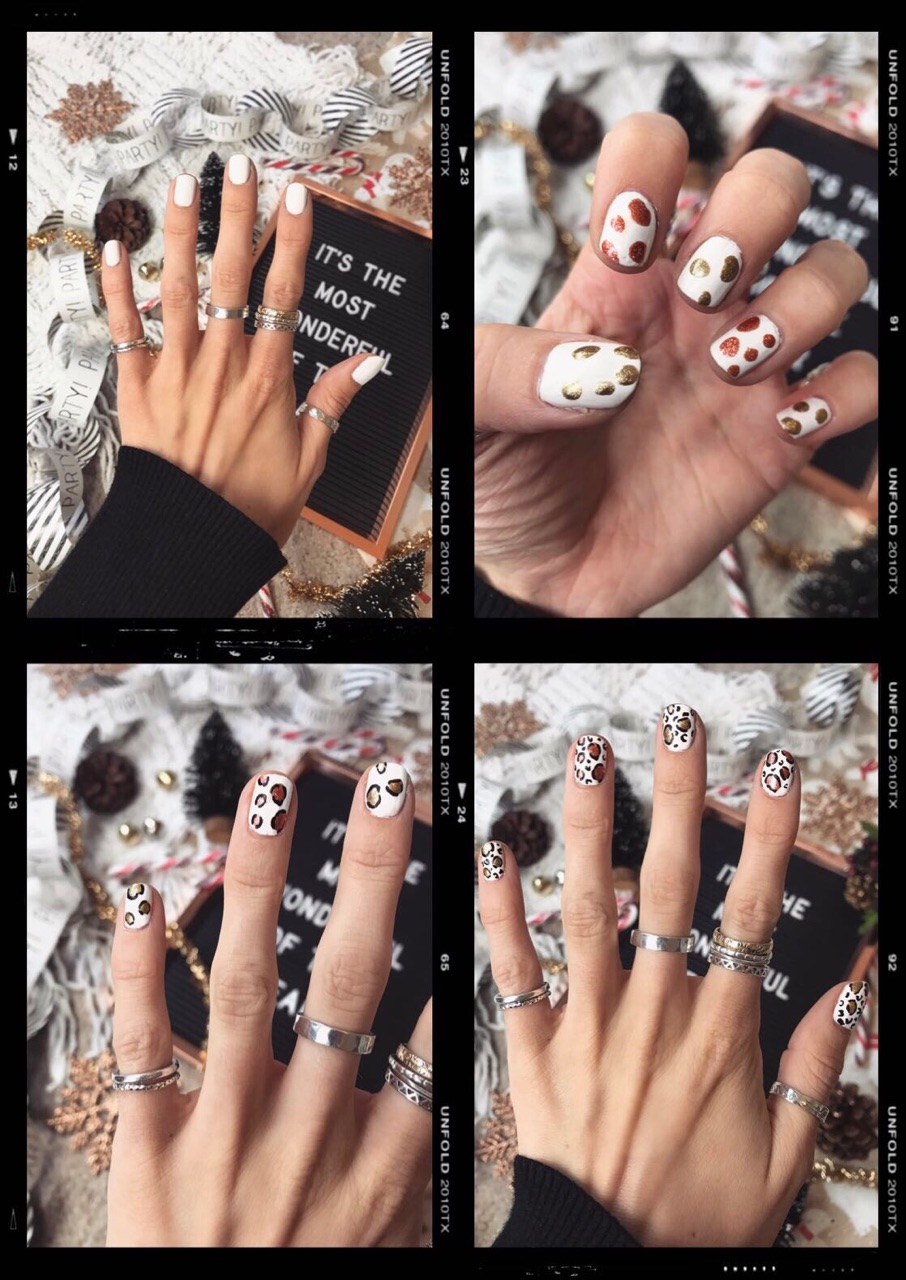
The Glitter Snow Leopard
- Paint your nails white or any light colour as the base. Do about 2-3 coats to make sure it is a solid colour.
- With your chosen colours, make random blobs on each nail. Try and make them different sizes and shapes. Also don’t do over 5 blobs as it will look a little over crowded
- Using an eyeliner pen, roughly go round each blob. But make sure to leave at least one gap when going round them because you don’t really want one continuous line.
- Using the eyeliner pen again, you want to fill the left over spaces by creating little ‘c’ shapes and the occasional dot.
- Top nails with clear nail polish.
The Snowman Face
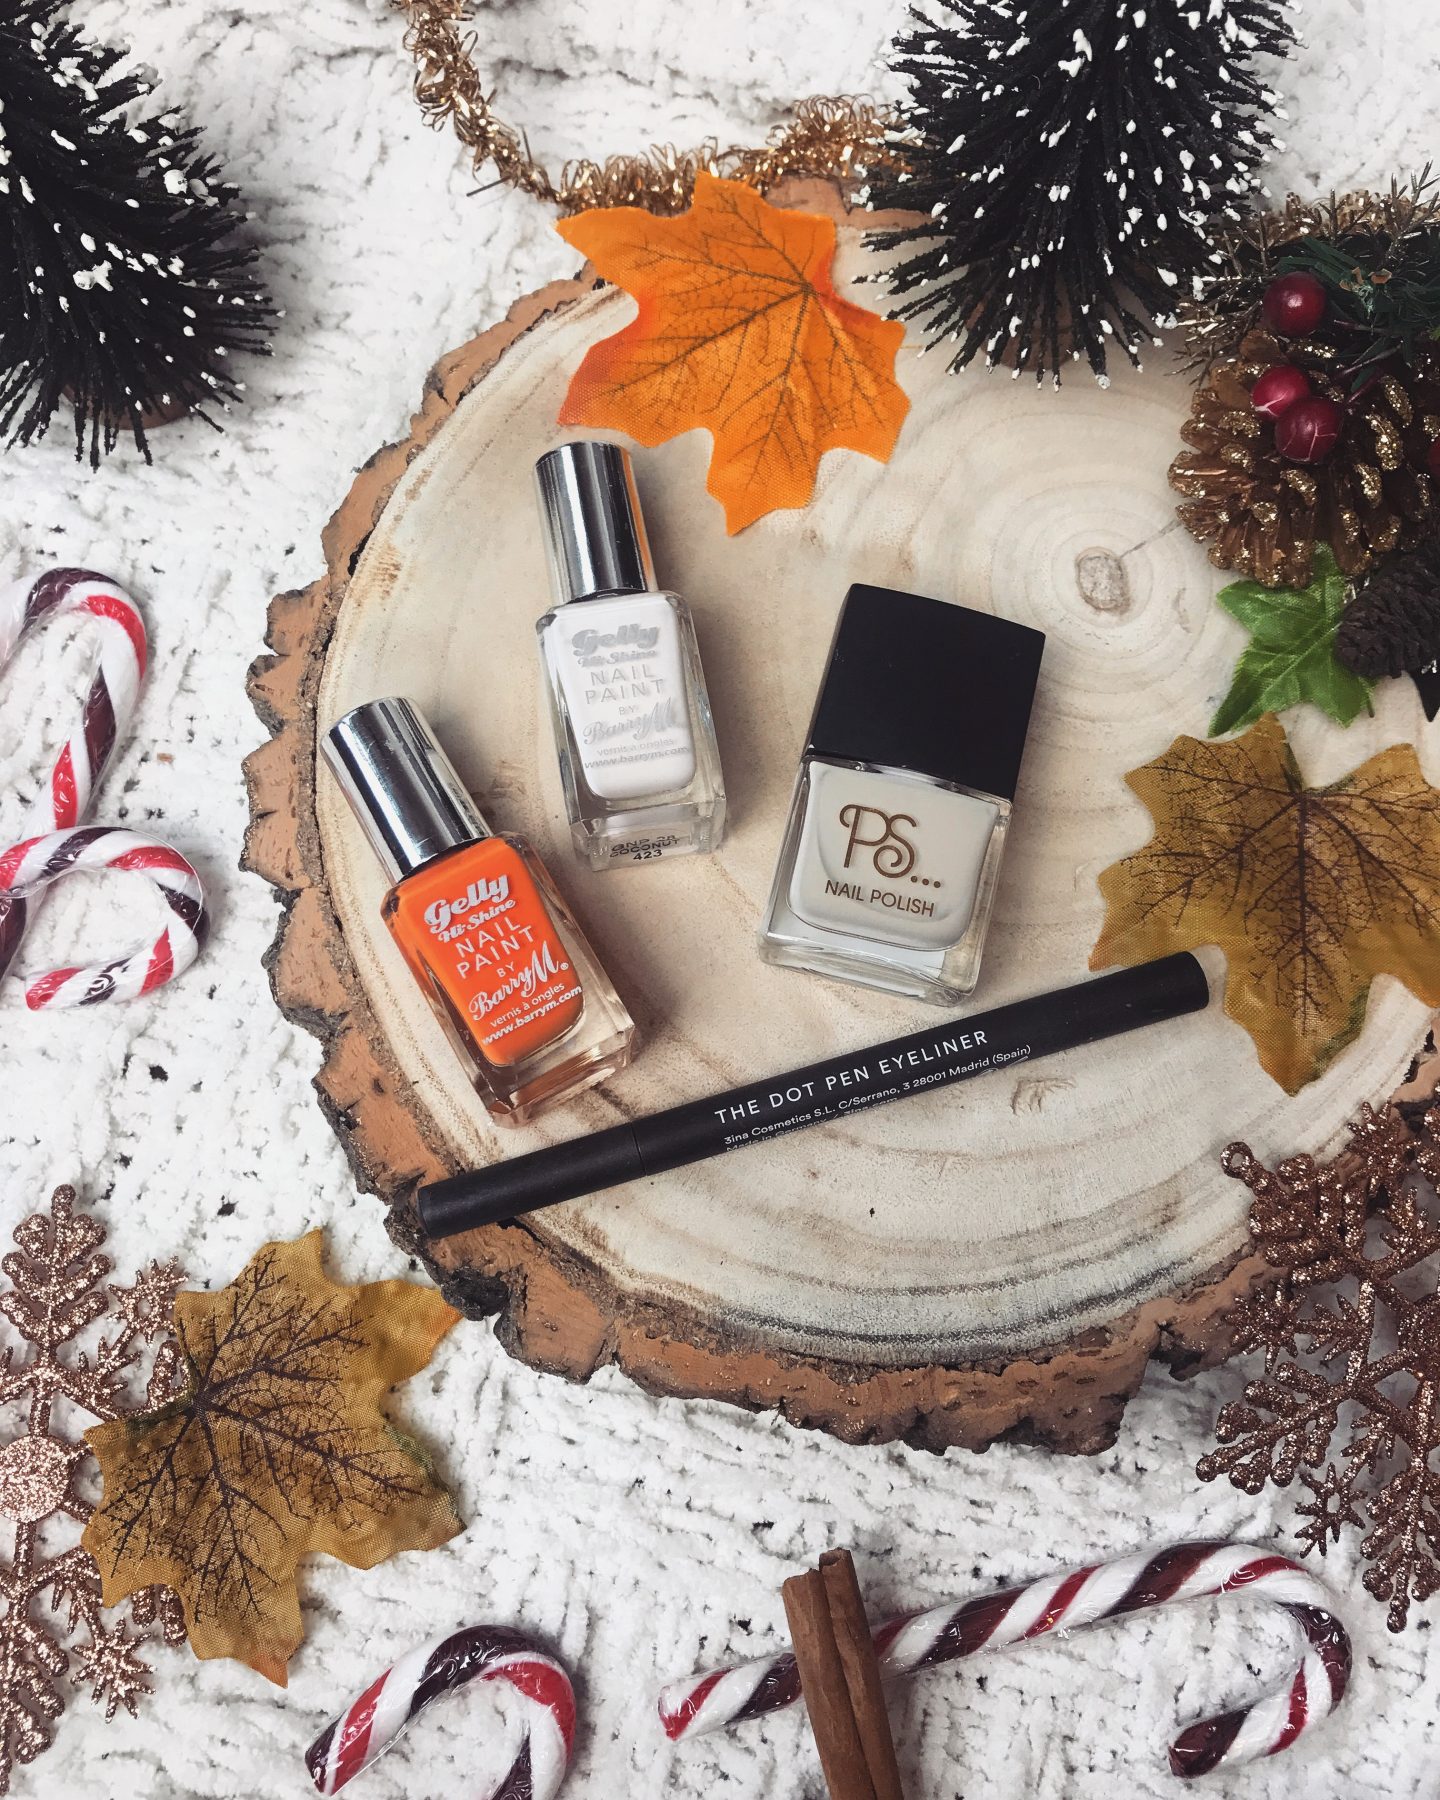
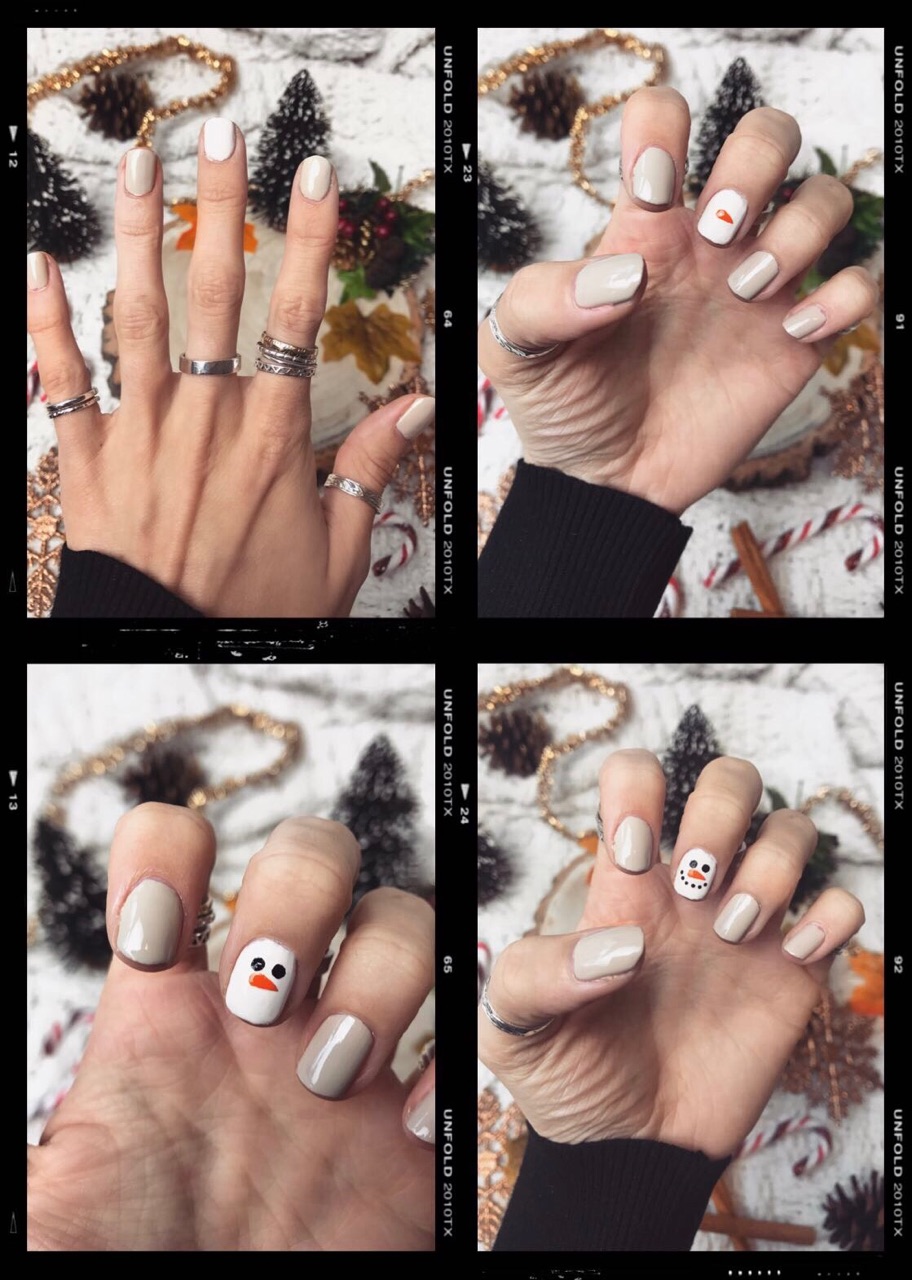
- Paint your nails a light base colour, but making sure the finger you want the snowman face on is white.
- Very carefully, paint a triangle nose with the orange nail polish.
- Using the eyeliner pen, create to large dots for eyes.
- Then create a dotted smile with the eyeliner pen.
- Paint nails with clear polish.
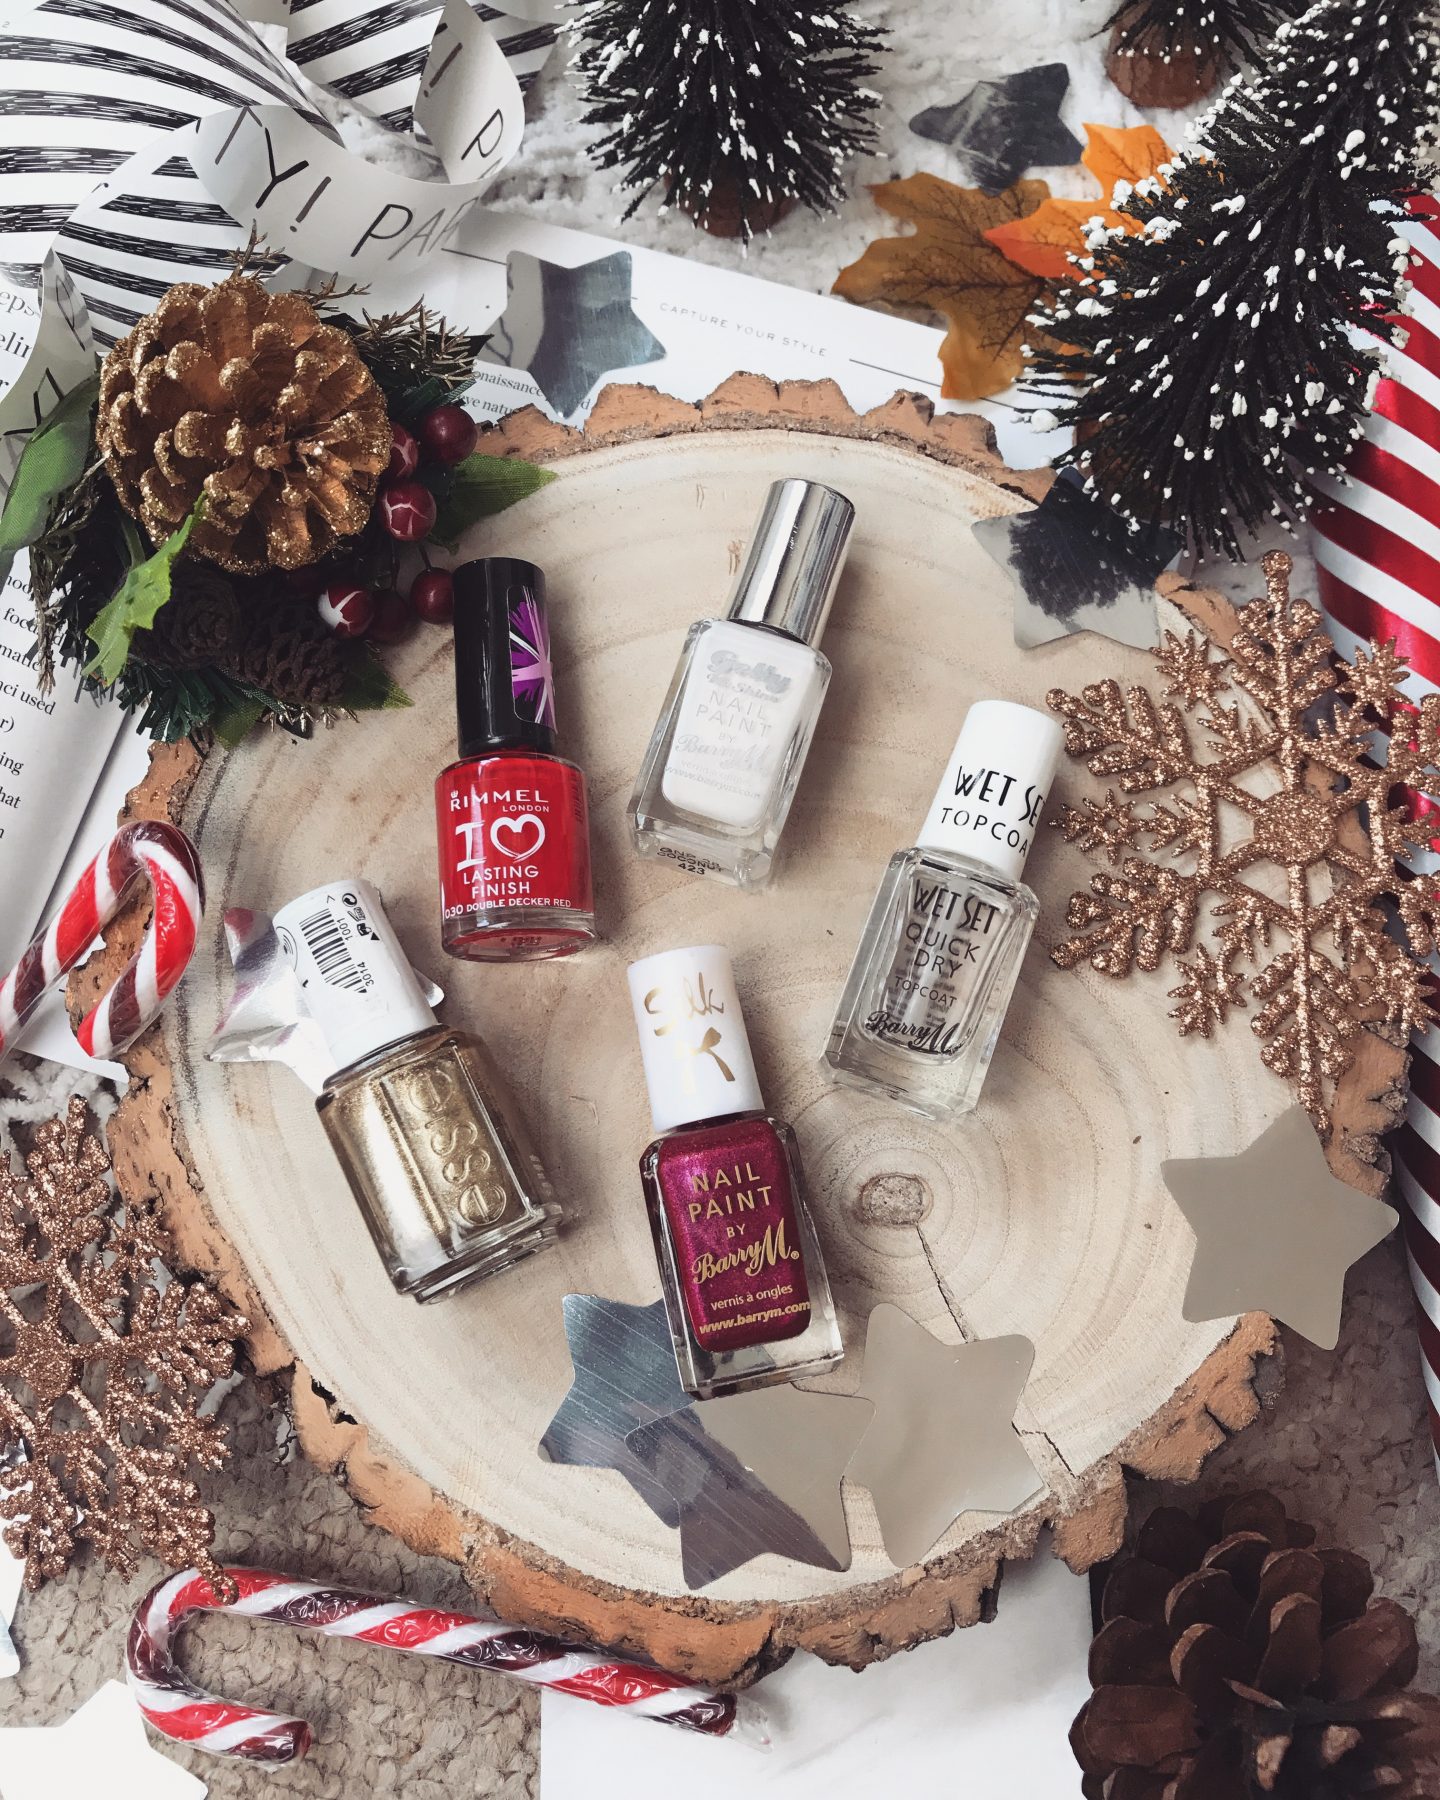
Festive Ombre Spots
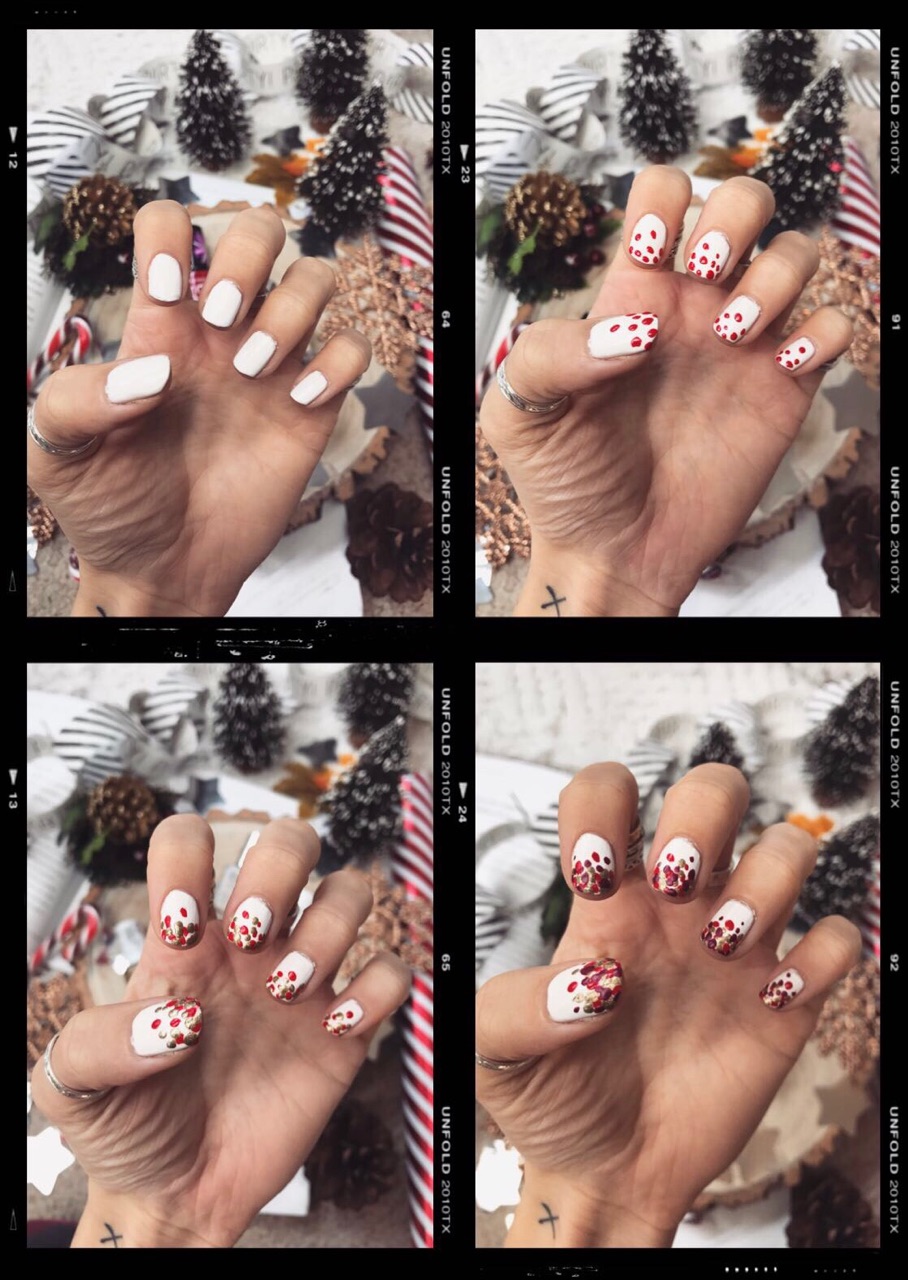
*This one takes quite a long time because you have to wait for each colour to dry.
- Paint your nails white.
- Pick three colours that you want and make random dots. Start off with quite a few on at the tip and then less as you go down. I would advise to start off with the darkest colour. (I didn’t do that and I wish I did!)
- After the first colour has dried, to the same with your second colour.
- You then want to fill in the gaps with dots with your third colour.
- Paint clear nail polish on top.
Glitter Ombre
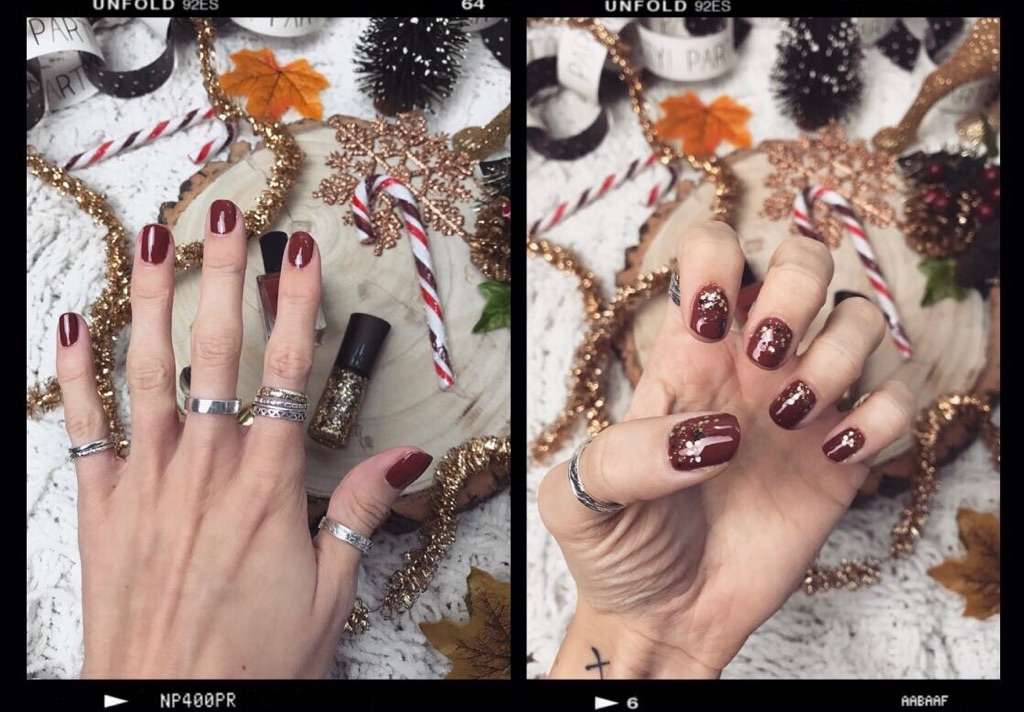
- Paint your nails your chosen colour.
- Using a glitter nail polish, you want to keep adding the polish to the bottom of your nail until the desired amount of glitter. DO NOT paint over the whole nail.
- Then paint half way up your nail to get the tiny specs of glitter there so it looks more like an ombre and not a massive clump.
- Paint nails with clear nail polish.

Leave a Reply